Winter season is at its best here in Norway right now, with sunny days and lots of beautiful, white snow! We are spending as much time as we can skiing and we are also enjoying leisurely walks with Freja in the snow, every single day.
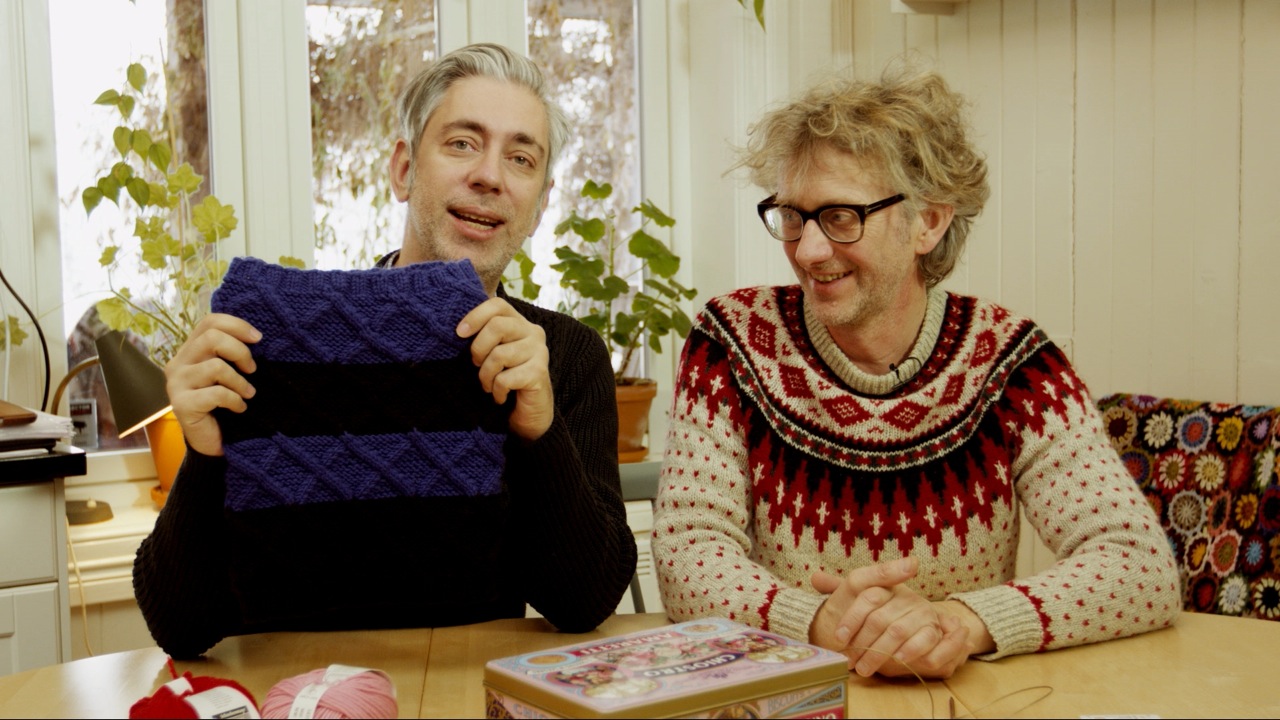
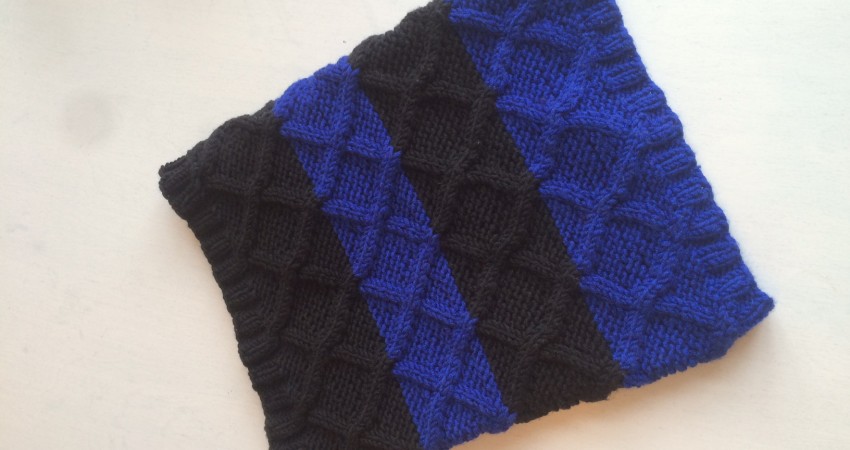
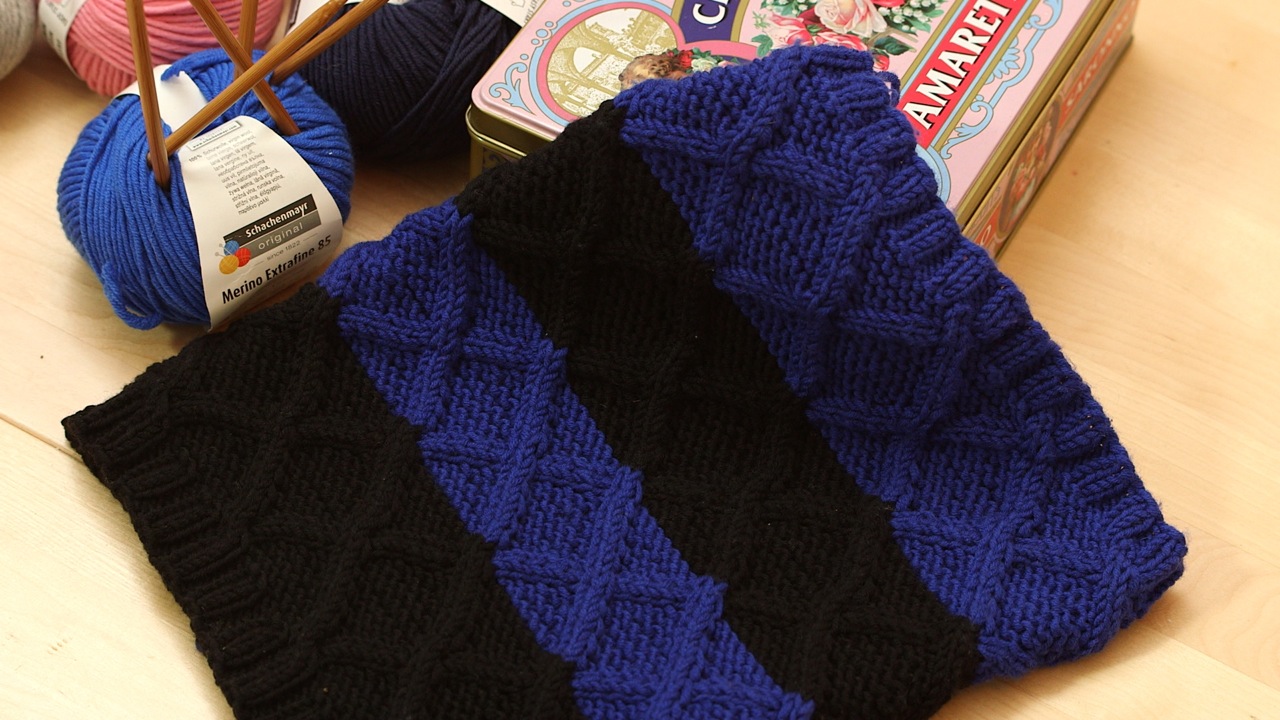
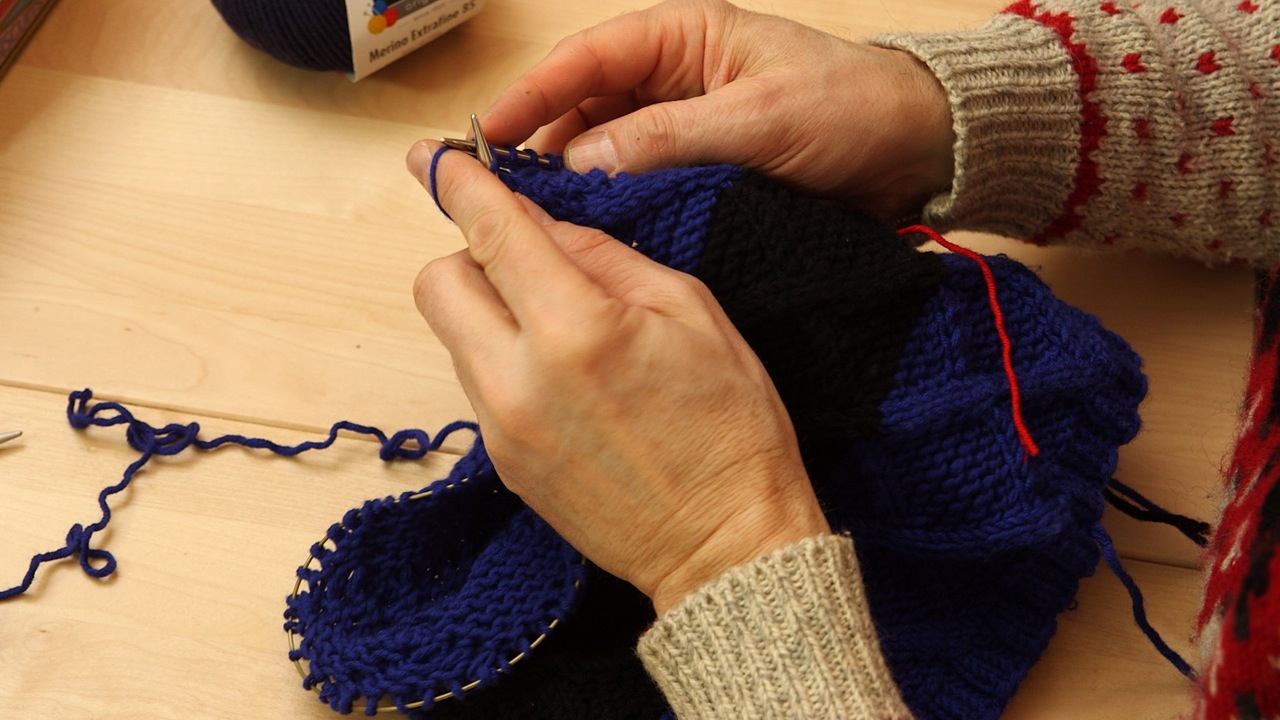
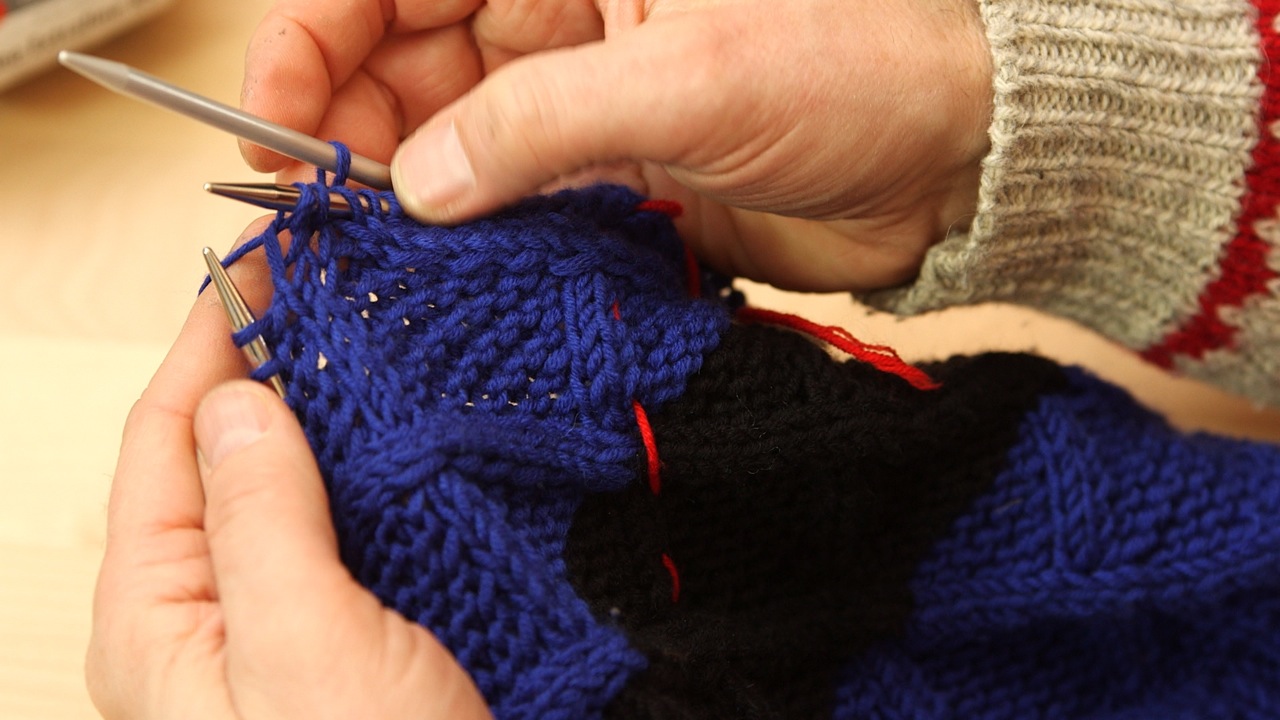
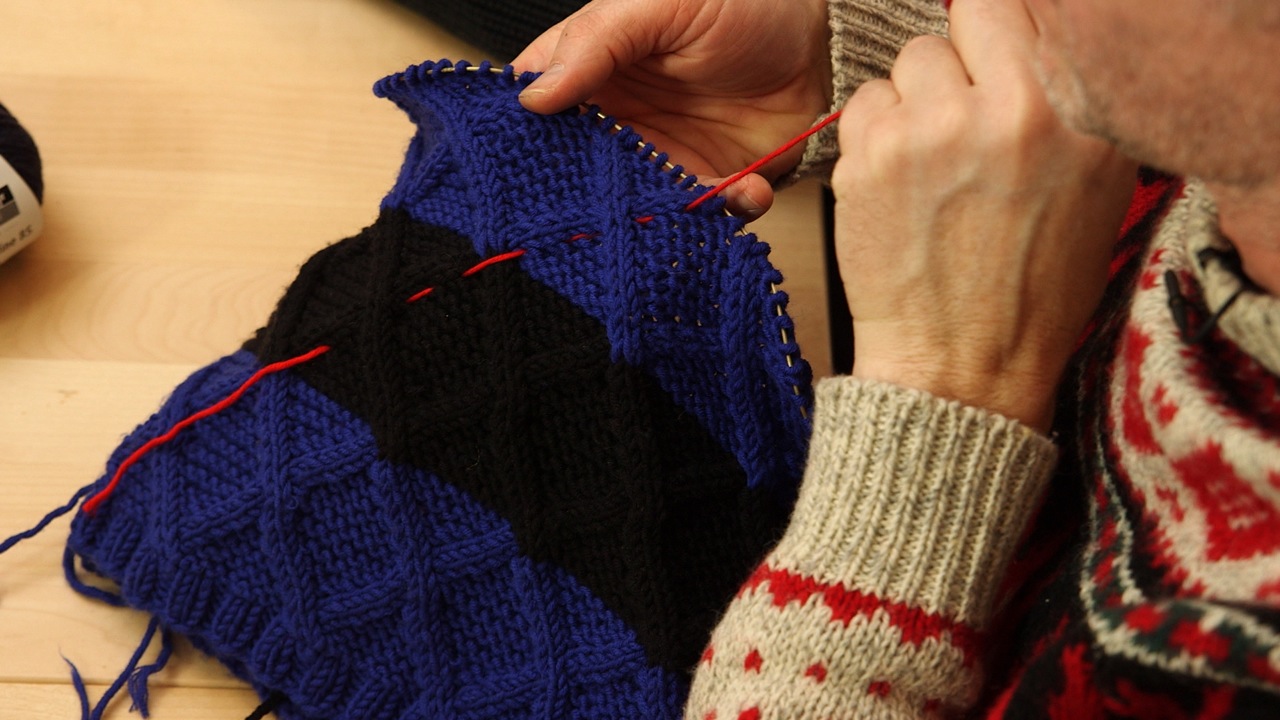
Today’s project is a great cowl, for those sunny, but cold winter days, when you want to spend as much time as possible outside, either on the skiing slopes, or just basking the bright sun. In this week’s tutorial we explain how knit the pattern using an extra dpn so that the stitches may easily change place on the circular needle. You knit the whole project on the round.
You will find the tutorial here below, and this will hopefully clarify what we mean with “putting the dpn in front of or behind the project”
[youtube id=”P9lpm6OppxQ”]
If you are enjoying our tutorials and free patterns, please subscribe to our Youtube channel here!
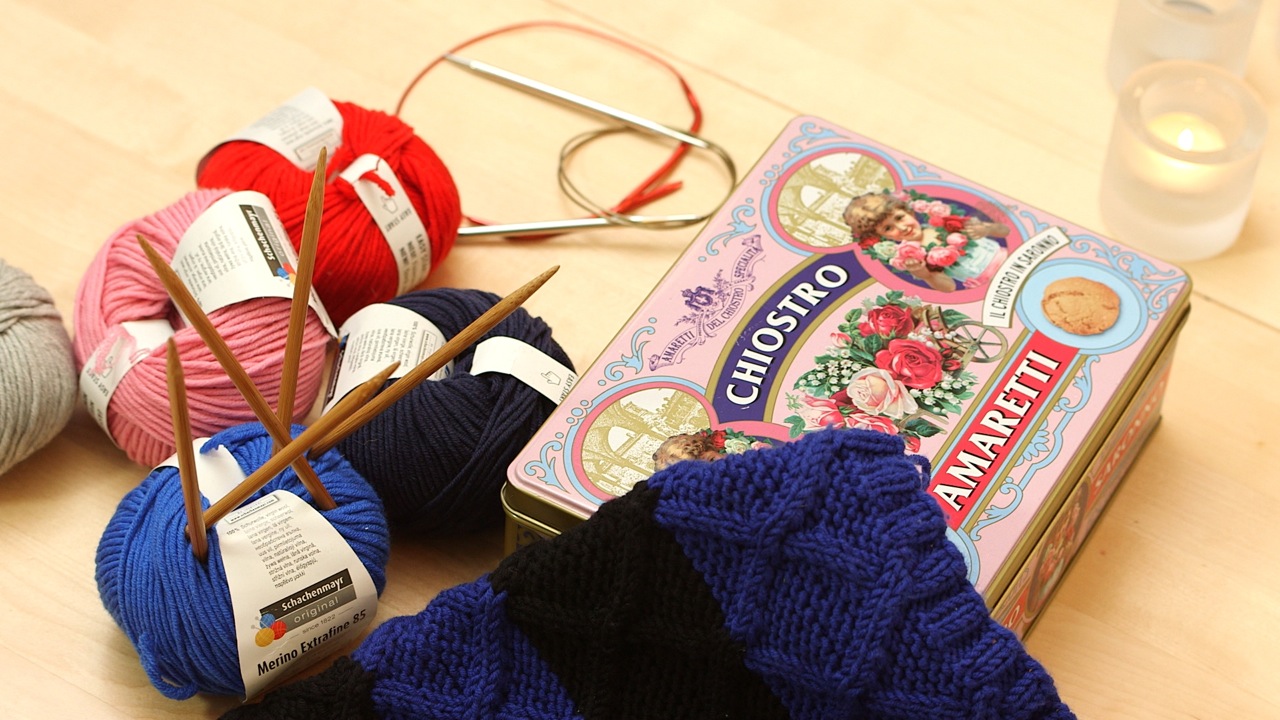
Yarn: Aran weight yarn: Schachenmayr (Patons in the UK) Merino Extra Fine 85, 100% virgin wool (92 yd/85 m / 50 g). You will need 2 colours, and 100 grams (2 balls) of each colour. We used the following colours: 299 Black and 253 Majesty.
Buy the yarn here.
Needles: 2 circular needles, sizes 4.5 mm (U.S size 7) and 5 mm (U.S size 8) + 1 short dpn size 5 mm (U.S size 8)
With smaller circular needle, CO 108 sts. Join, being careful not to twist cast-on row; place marker for beginning of the row. Work 6 rnds k2, p2 ribbing . K 1 rnd as you change to larger size needle.
Rnd 1: k2 *p8, k4* end rnd 1 with p8, k2.
Rnd 2: k106, put the 2 last sts on the dpn in front of project. (see tutorial)
Rnd 3: k2, k2 from dpn, *p8, 2sts on dpn in front of project, k2, k2 from dpn* finish with p8 and place marker after those 8 sts.
Rnd 4: k107, put last st on dpn behind project (see tutorial)
Rnd 5: k2, p1 from dpn, put 2 sts on dpn in front of project, p1, k2 from dpn *p6, put 1 st on dpn behind project, k2, p1 from dpn, put 2 sts on dpn in front of project, p1, k2 from dpn* finish with p6
Rnd 6: k107, put last st on dpn behind project.
Rnd 7: k2, p1 from dpn, p2, put 2 sts on dpn in front of project, p1, k2 from dpn, p4 *put 1 st on dpn behind project, k2, p1 from dpn, p2, put 2 st on dpn in front of project, p1, k2 from dpn, p4*
Rnd 8: k107, put 2 last sts on dpn behind project.
Rnd 9: k2, p1 from dpn, p4, put 2 sts on dpn in front of project, p1, k2 from dpn, p2 *put 1 st on dpn behind project, k2, p1 from dpn, p4, put 2 sts on dpn in front of project, p1, k2 from dpn, *
Rnd 10: k107, put last st on dpn behind project.
Rnd 11: k2, p1 from dpn, p6, put 2 sts on dpn in front of project, p1, k2 from dpn, put 1 st from dpn behind project, p2, k1 from dpn, p6, *put 2 sts on dpn in front of project, p1, k2 from dpn, put 1 sts on dpn behind project, k2, p1 from dpn* finish with 2 st on dpn in front of project, p1, k2 from dpn
Rnd 12: k108
Repeat rnds 1 – 12
Change colour and repeat rnds 1-12 twice.
When you have reach desired length for cowl, work 6 rds k2, p2 ribbing.
Now you are ready to face the cold weather in style!
Enjoy!!
ARNE & CARLOS