
Our sock tutorials have become quite popular and we have been getting loads of questions about sizes. So we thought it could be very good to write a quick post about sizing, to help you out with all your questions.
In general, this is what we’d cast on for a regular size, men’s and women’s:
If knitting from the toe-up, you start with a small number of stitches and increase until it fits your foot, so this is pretty straight forward. We will usually cast on 4 stitches per needle (16 stitches total) and increase from there, usually until we have 16 or 17 stitches on each needle (64 or 68 stitches total), depending on the yarn. With the Regia 4-ply, we tend to increase to 16 stitches on each of our 4 needles (64 stitches total) for our size. That would be the equivalent of a men’s foot size 40 – 42. For a woman’s regular size, you’ll need to increase until you have 14 or 15 stitches per needle (56 or 60 stitches total)
If you knit from the top-down, as a rule of thumb, you’ll need to cast on around 14 or 15 stitches per needle (56 or 60 stitches total) if you have a regular woman’s size and 16 or 17 stitches per needle (64 or 68 stitches total) for a regular men’s size. and then start decreasing at the toe.
Just to be clear, when we write cast on “each” needle: we always knit our socks using a set of 5 dpns (double pointed needles). Our stitches are always divided evenly onto 4 dpns and we knit with the 5th needle.
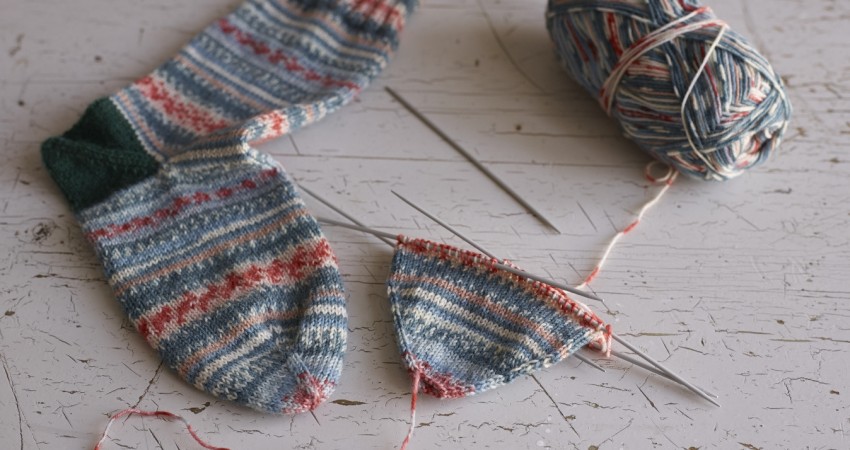
Of course, everyone is different and many people don’t have a regular size foot. If this is the case, we’d like to suggest you try knitting using our tutorial “The easiest sock in the world” which is a toe-up pattern with an afterthought heel. This way, you start by casting on 4 stitches on each needle (16 stitches total) and increase until you have the size you need. So, how do you know when you’ve increased enough? Well, the best way to figure that out, is to try it on as you knit. Cast on your 4 stitches per needle, increase on every other round and when the sock toe covers all you 4 toes and is just about covering the tip of your smallest toe, you can stop increasing.
Here is the tutorial for the easiest sock in the world.
[youtube id=”uQcPvZAEJ3w”]And here is the tutorial for the heel of the easiest sock in the world:
[youtube id=”0l-w8UI1fG4″]And here is the written pattern that supports both tutorials: Easiest sock in the world pattern.
Also, another question we have been noticing on the easiest sock in the world is: how do you know where to put in the heel? Again, all you need to do is try on the sock you are knitting. Once it reaches your ankle bone (and aligns with the beginning of your leg), that’s where you put in your scrap thread. It’s as easy as that!
If you are knitting a sock using our REGIA PAIRFECT yarn, you have no choice but to know how many stitches to cast on, as this sock must be knitted from the top-down, to work with the Pairfect technology. We’ve based the number of stitches to cast on regular sizes (see above), but if you are not a regular size and need a chart for sizes and number of stitches to cast on, all you need to do is google “size, charts, socks” and you will get quite a few results…
Here are some links to a few charts from Regia and Schachenmayr, that you can check out, with European, American and UK sizes:
And here is the tutorial for the short row heel we’ve used with Pairfect:
[youtube id=”IxVxsmP58_o”]So, we hope that this post answers many of your questions about sizes.
ARNE & CARLOS