
We are doing a 4 episode tutorial on how to knit and steek an cardigan. In this first tutorial we go through the measurements of the body, cut the sleeves and sew them on to the garment. See the tutorial here:
[youtube id=”K8UVwATDASw”]
PATTERN FOR A MEN’S Size MEDIUM. (for other sizes, you’ll need to figure this out yourself, base on your own measurements and the yarn gauge)
Yarn: We’ve used a DK weight yarn for this cardigan, the Schachenmayr Merino Extrafine 120
-Main Colour 00500 Dovre, between 650-700 grams (13-14 balls of yarn) for a Men’s Medium Sweater.
-The placket, cuff and bottom hem were knitted in colour 00154 Jeans and you’ll need 100 grams (2 balls of yarn)
Buy the yarn here.
To start the jacket the jacket this way you have to take a measurement around the body, normally around the chest to get the widest measurement. Don’t take the measurement too tight around the body, give a litte space or as wide as you want your jacket.
Check your gauge, for this yarn the gauge is 22st =10cm and 30rnds=10 cm on needles 3 – 4 mm.
Beware: Sometimes knitters complain about sizes and often the problem is in the gauge and not in the pattern. If you use this method for sizing, you have to check your gauge, otherwise you will have problems.
For us, a cast on of 220 stitches is a good size, as we are both size Medium in clothing. On our jacket it is therefore 110 stitches in the front and 110 stitches in the back which corresponds to a Men’s Medium size 50.
So, we cast on 220 stitches on a circular needle 3 mm (or whatever amount of stitches you need for your size).
Join, being careful not to twist cast-on row, place marker for beginning of round.
Knit 6cm ribb, * k2, p2 * around
Change to needle 3,5mm and knit the total length of your jacket, our jacket has a total lenght of 68 cm. Bind of sts or leave then open if you want to stitch them togther to make a invisible seam on the shoulder. Do what you like.
Check the width you want for your cuff on the sleeve by placin the rib on the body around your wrist an see how wide you want it, for us 52 sts is a good cuff. The number of stitches you cast on must be divided with 4, if you want a rib of * k2, p2 *
We cast on 52 stitches on 4dpn, 13 sts on each.
Join, being careful not to twist cast-on row, place marker for beginning of round.
Knit * k2, p2 * around, 6cm.
Change to needles 3,5mm
The marker is under the sleeve. Our sleeve is 65cm, and we increased 2 sts on every 5th round, in the begining of rnd, k1 (the first st on rnd), m1 and in the end of rnd, m1, k1 (the last st on rnd). Check the widt of the sleeve when your knitting, a good indication on the with is to stop inc when you got ½ number of sts of body, ex 110 for our size.
When you gott he length you want, turn the sleeve innside out and k 9rnds around to make a facing to cover the raw edges fron cuttuíng the sleeve opening.
If you want you can now steam the body and the sleeves, we chose not to do that, because the yarn is already very soft.
When you have finished your body and sleeves:
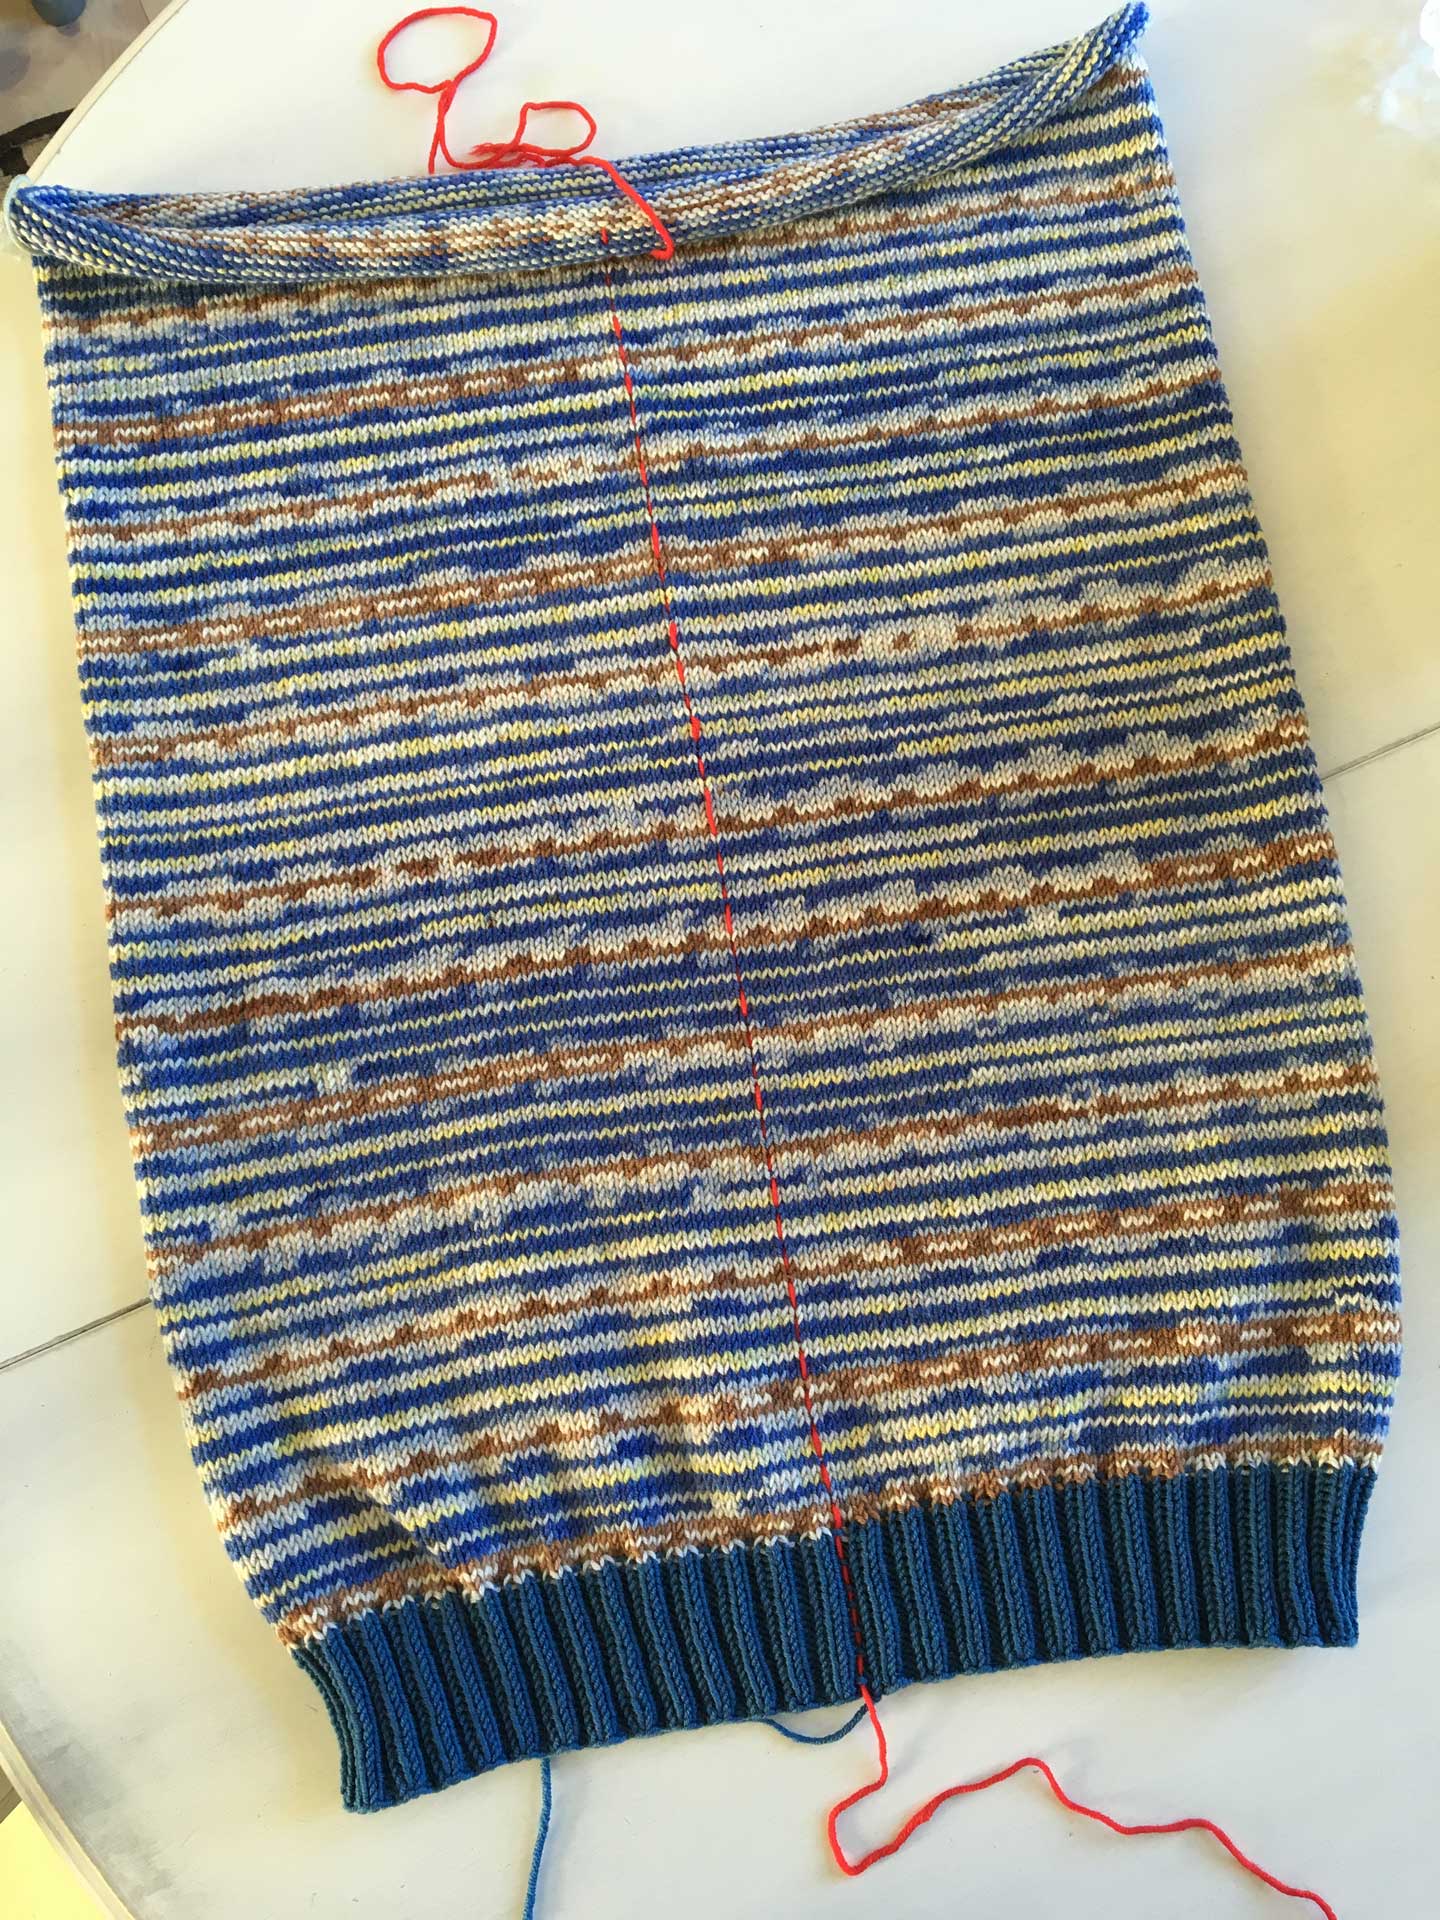
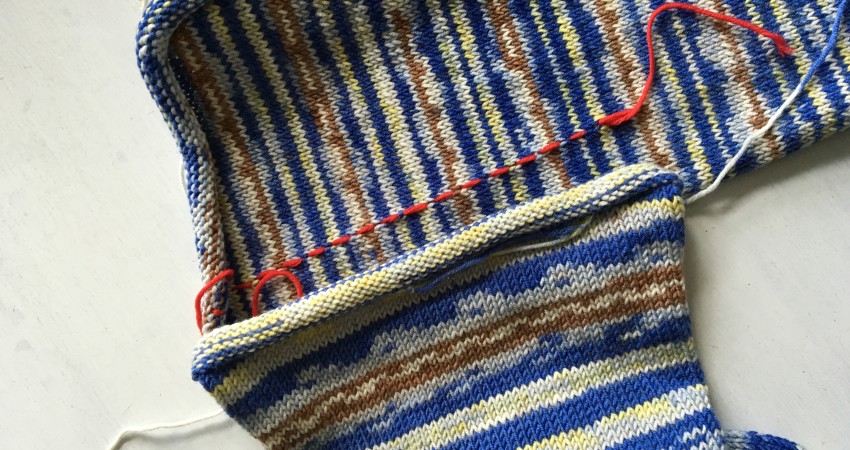
Stitch a tread in a contrasting colour along a line of horizontal stitches. Sew a zig zag seam and a single stitch seam on both sides of the tread before you take a scissor and cut the fabric along the marked line.
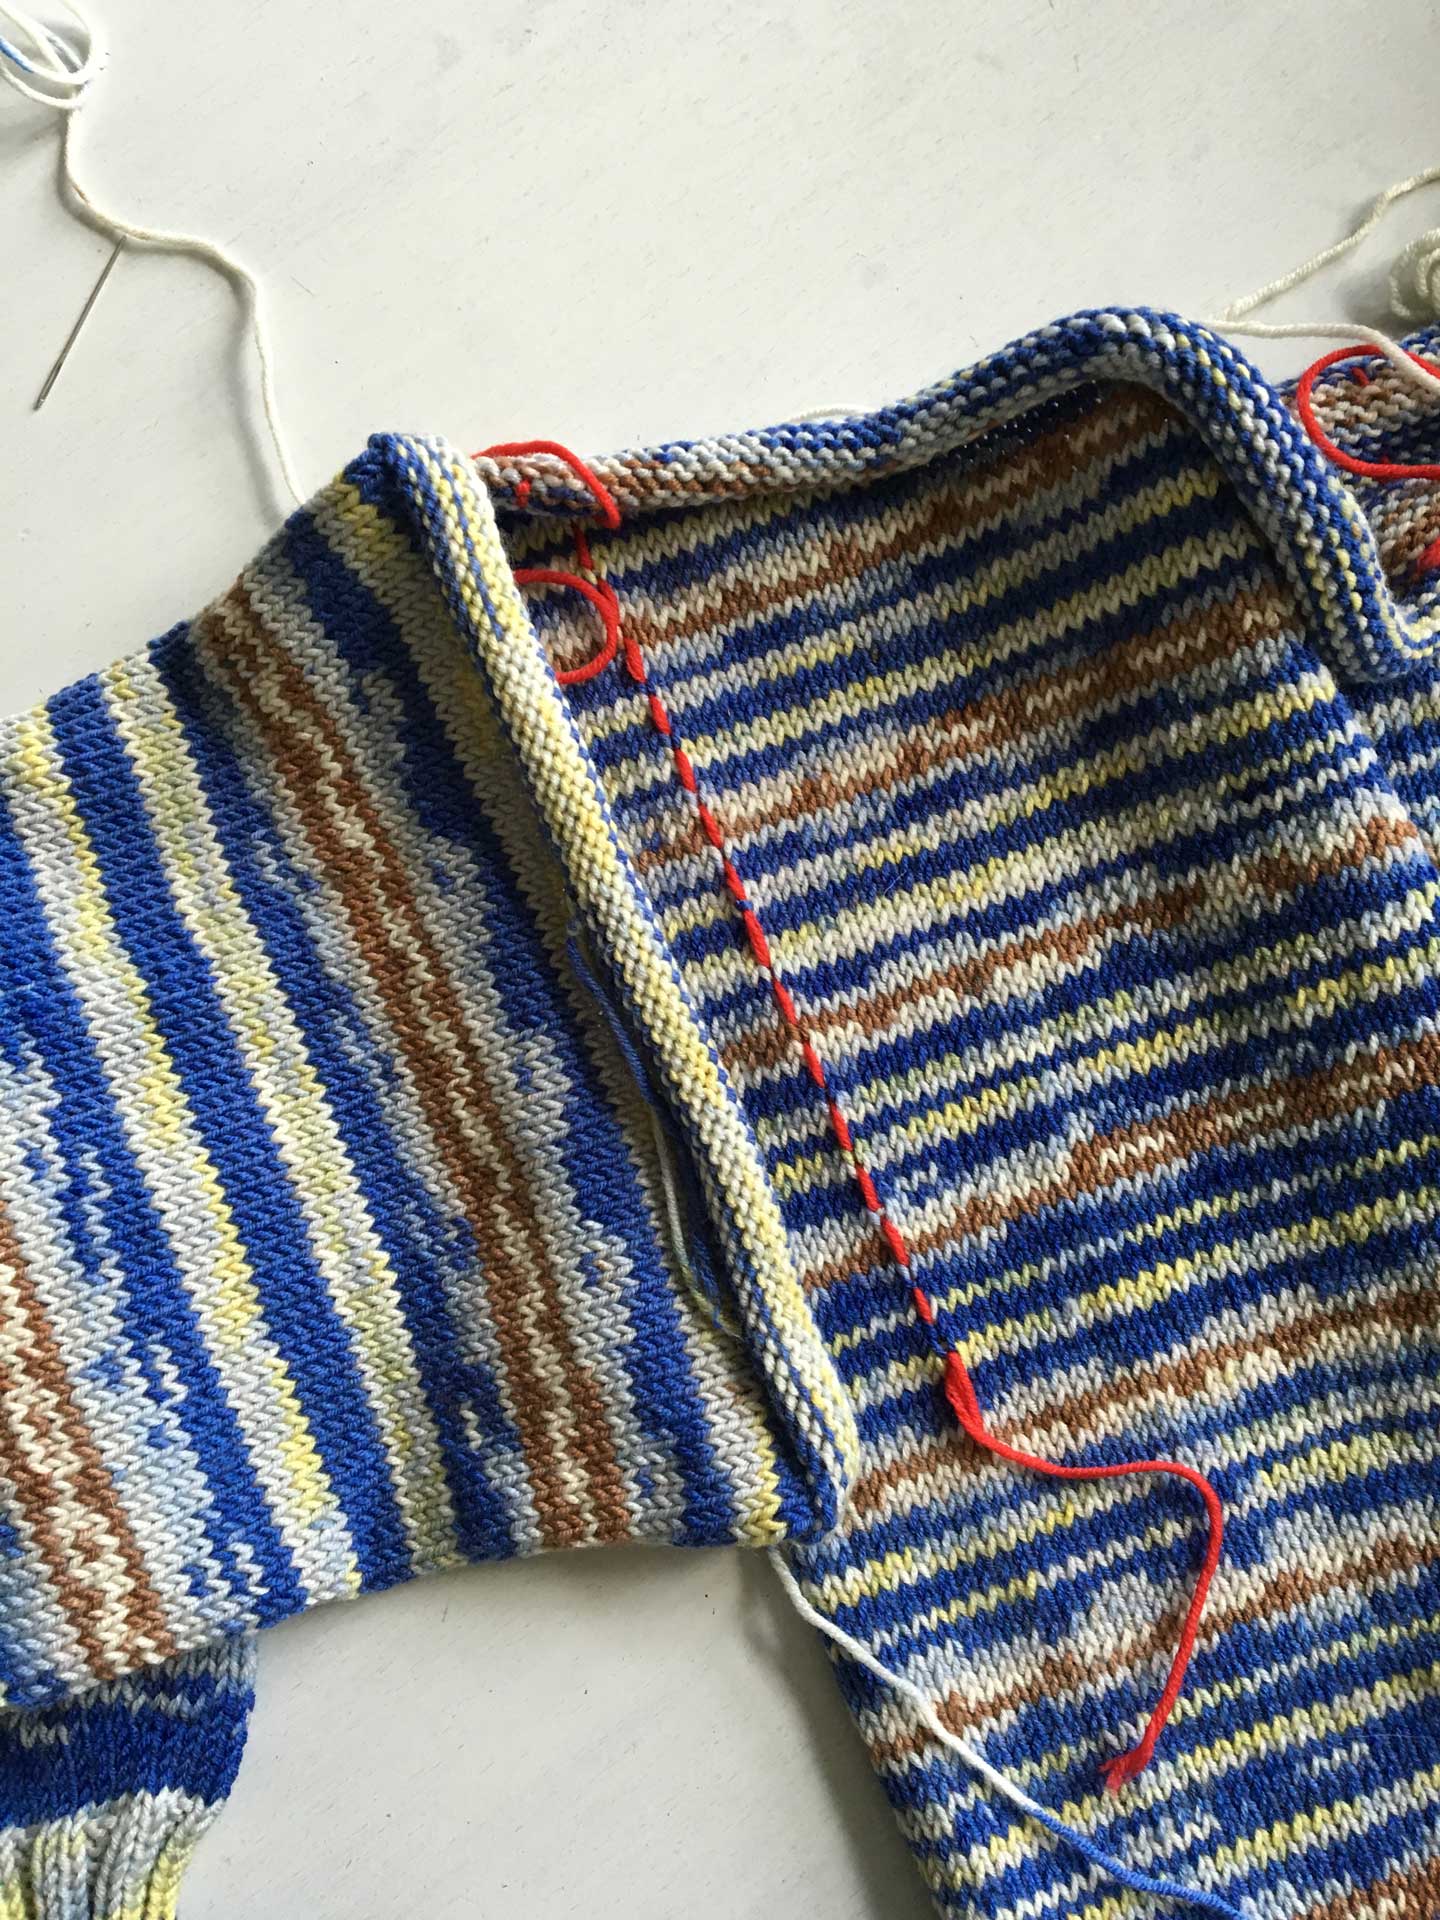
Put the sleeve next to the body and mark the opening you need for the sleeve with a thread in contrasting colour. Sew a zig zag and a single seam on both sides of your the contrast colour tread before you cut the fabric
After cutting the opening on the garment, put the jacket on the person the jacket is made for and mark the neck opening in a contrasting colour. Sew a zig zag and a single seam approximately 1 cm from the thread on the side next to the neck opening.

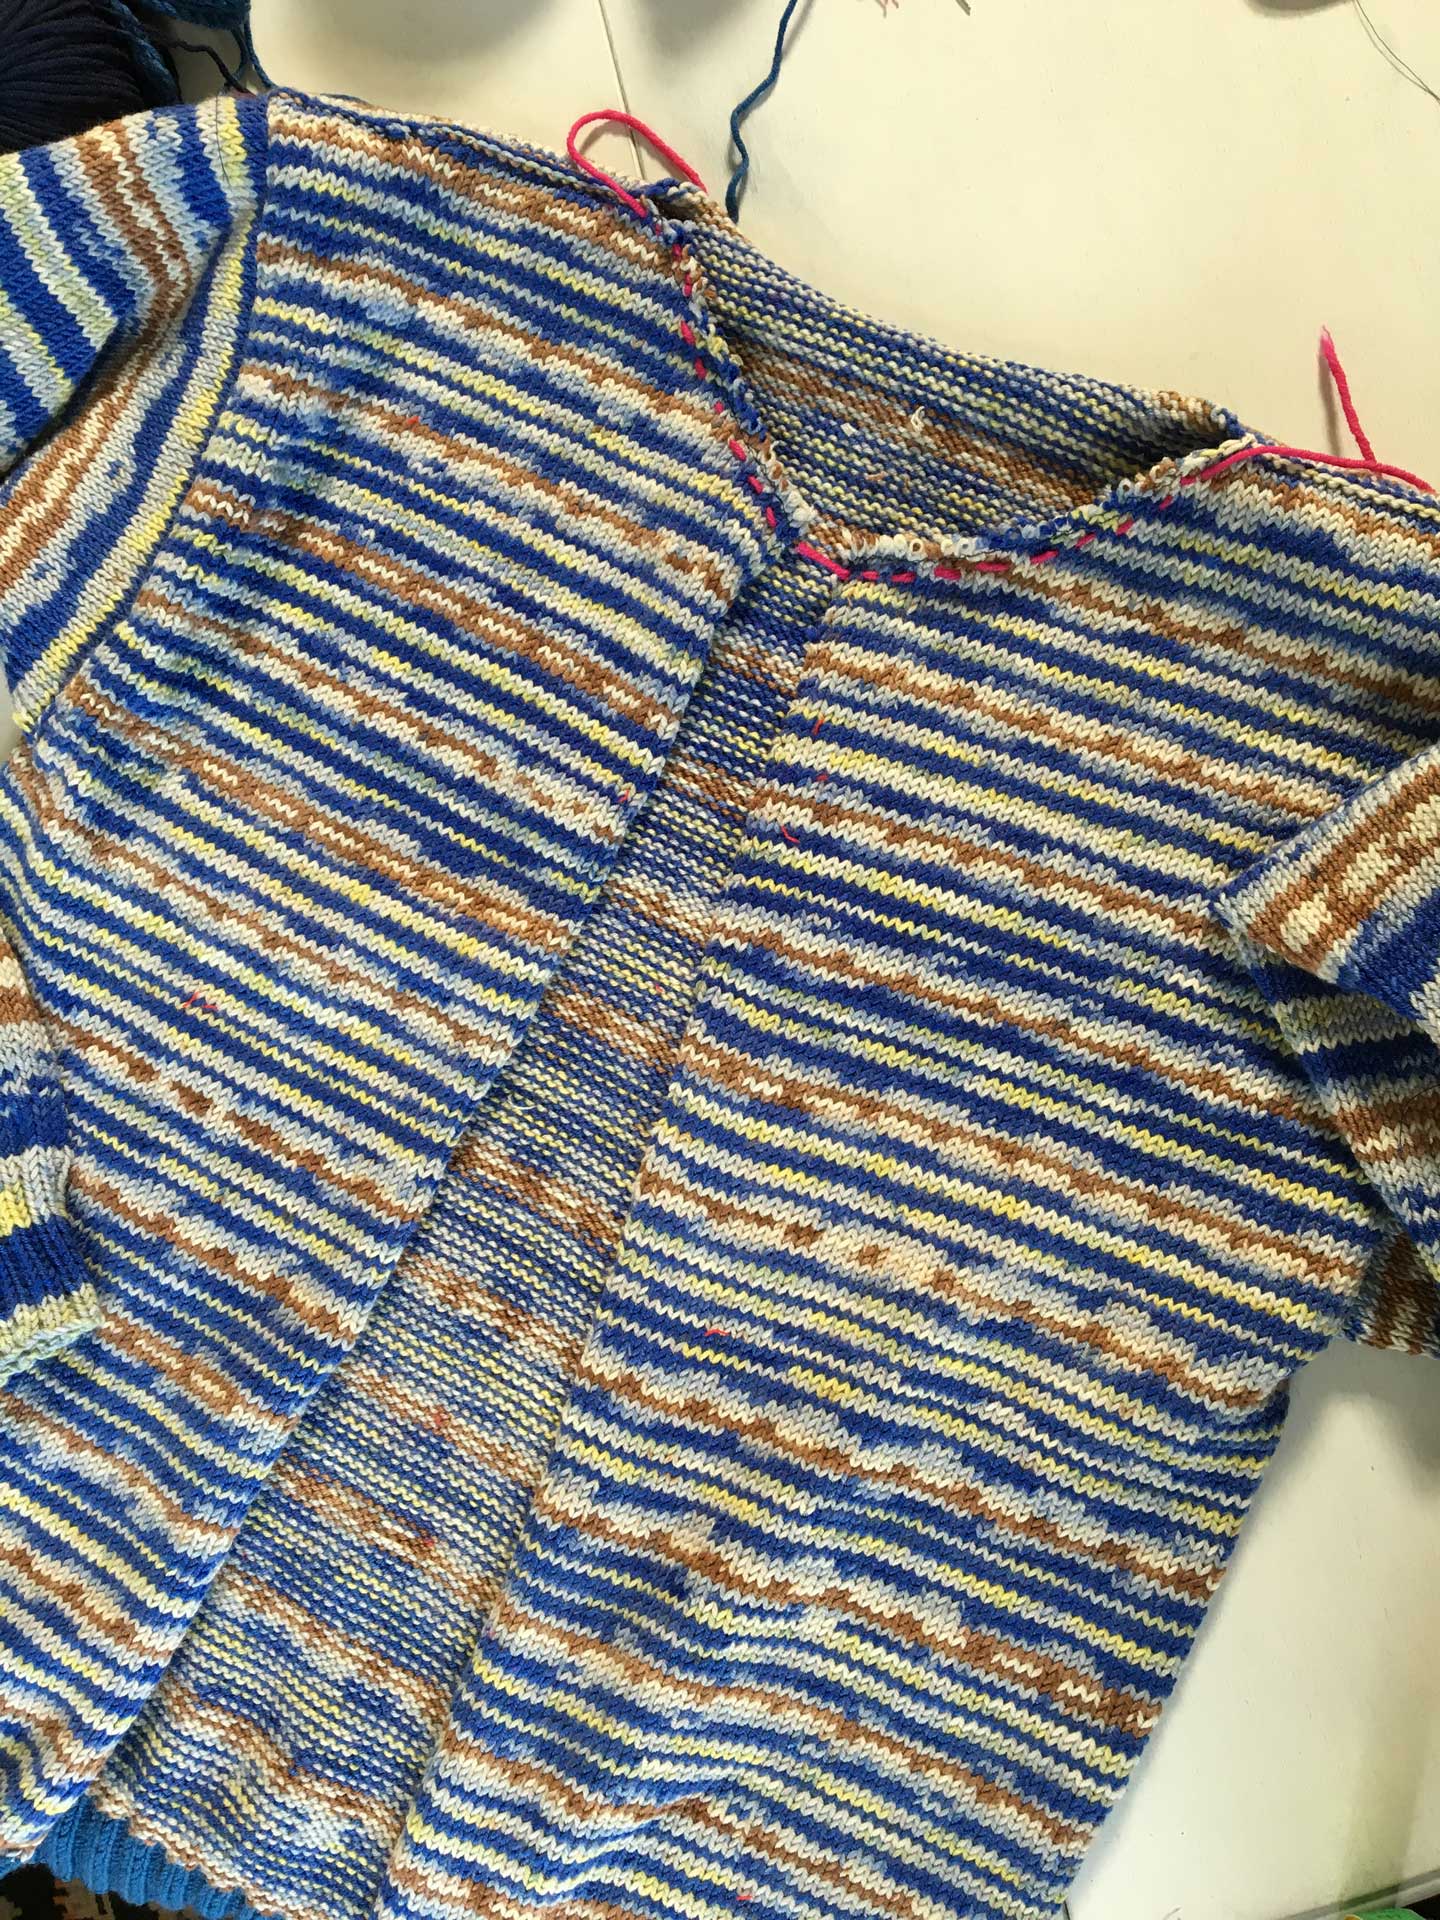
Put the sleeve and body together by placing the outside of the body towards the outside of the sleeve and stitch them together approximately 1 cm of the body over the facing on the arm top. Sew the sleeve to the body with a straight seam, use long stitches on your sewing machine, so you don’t get a tight seam with no stretch.
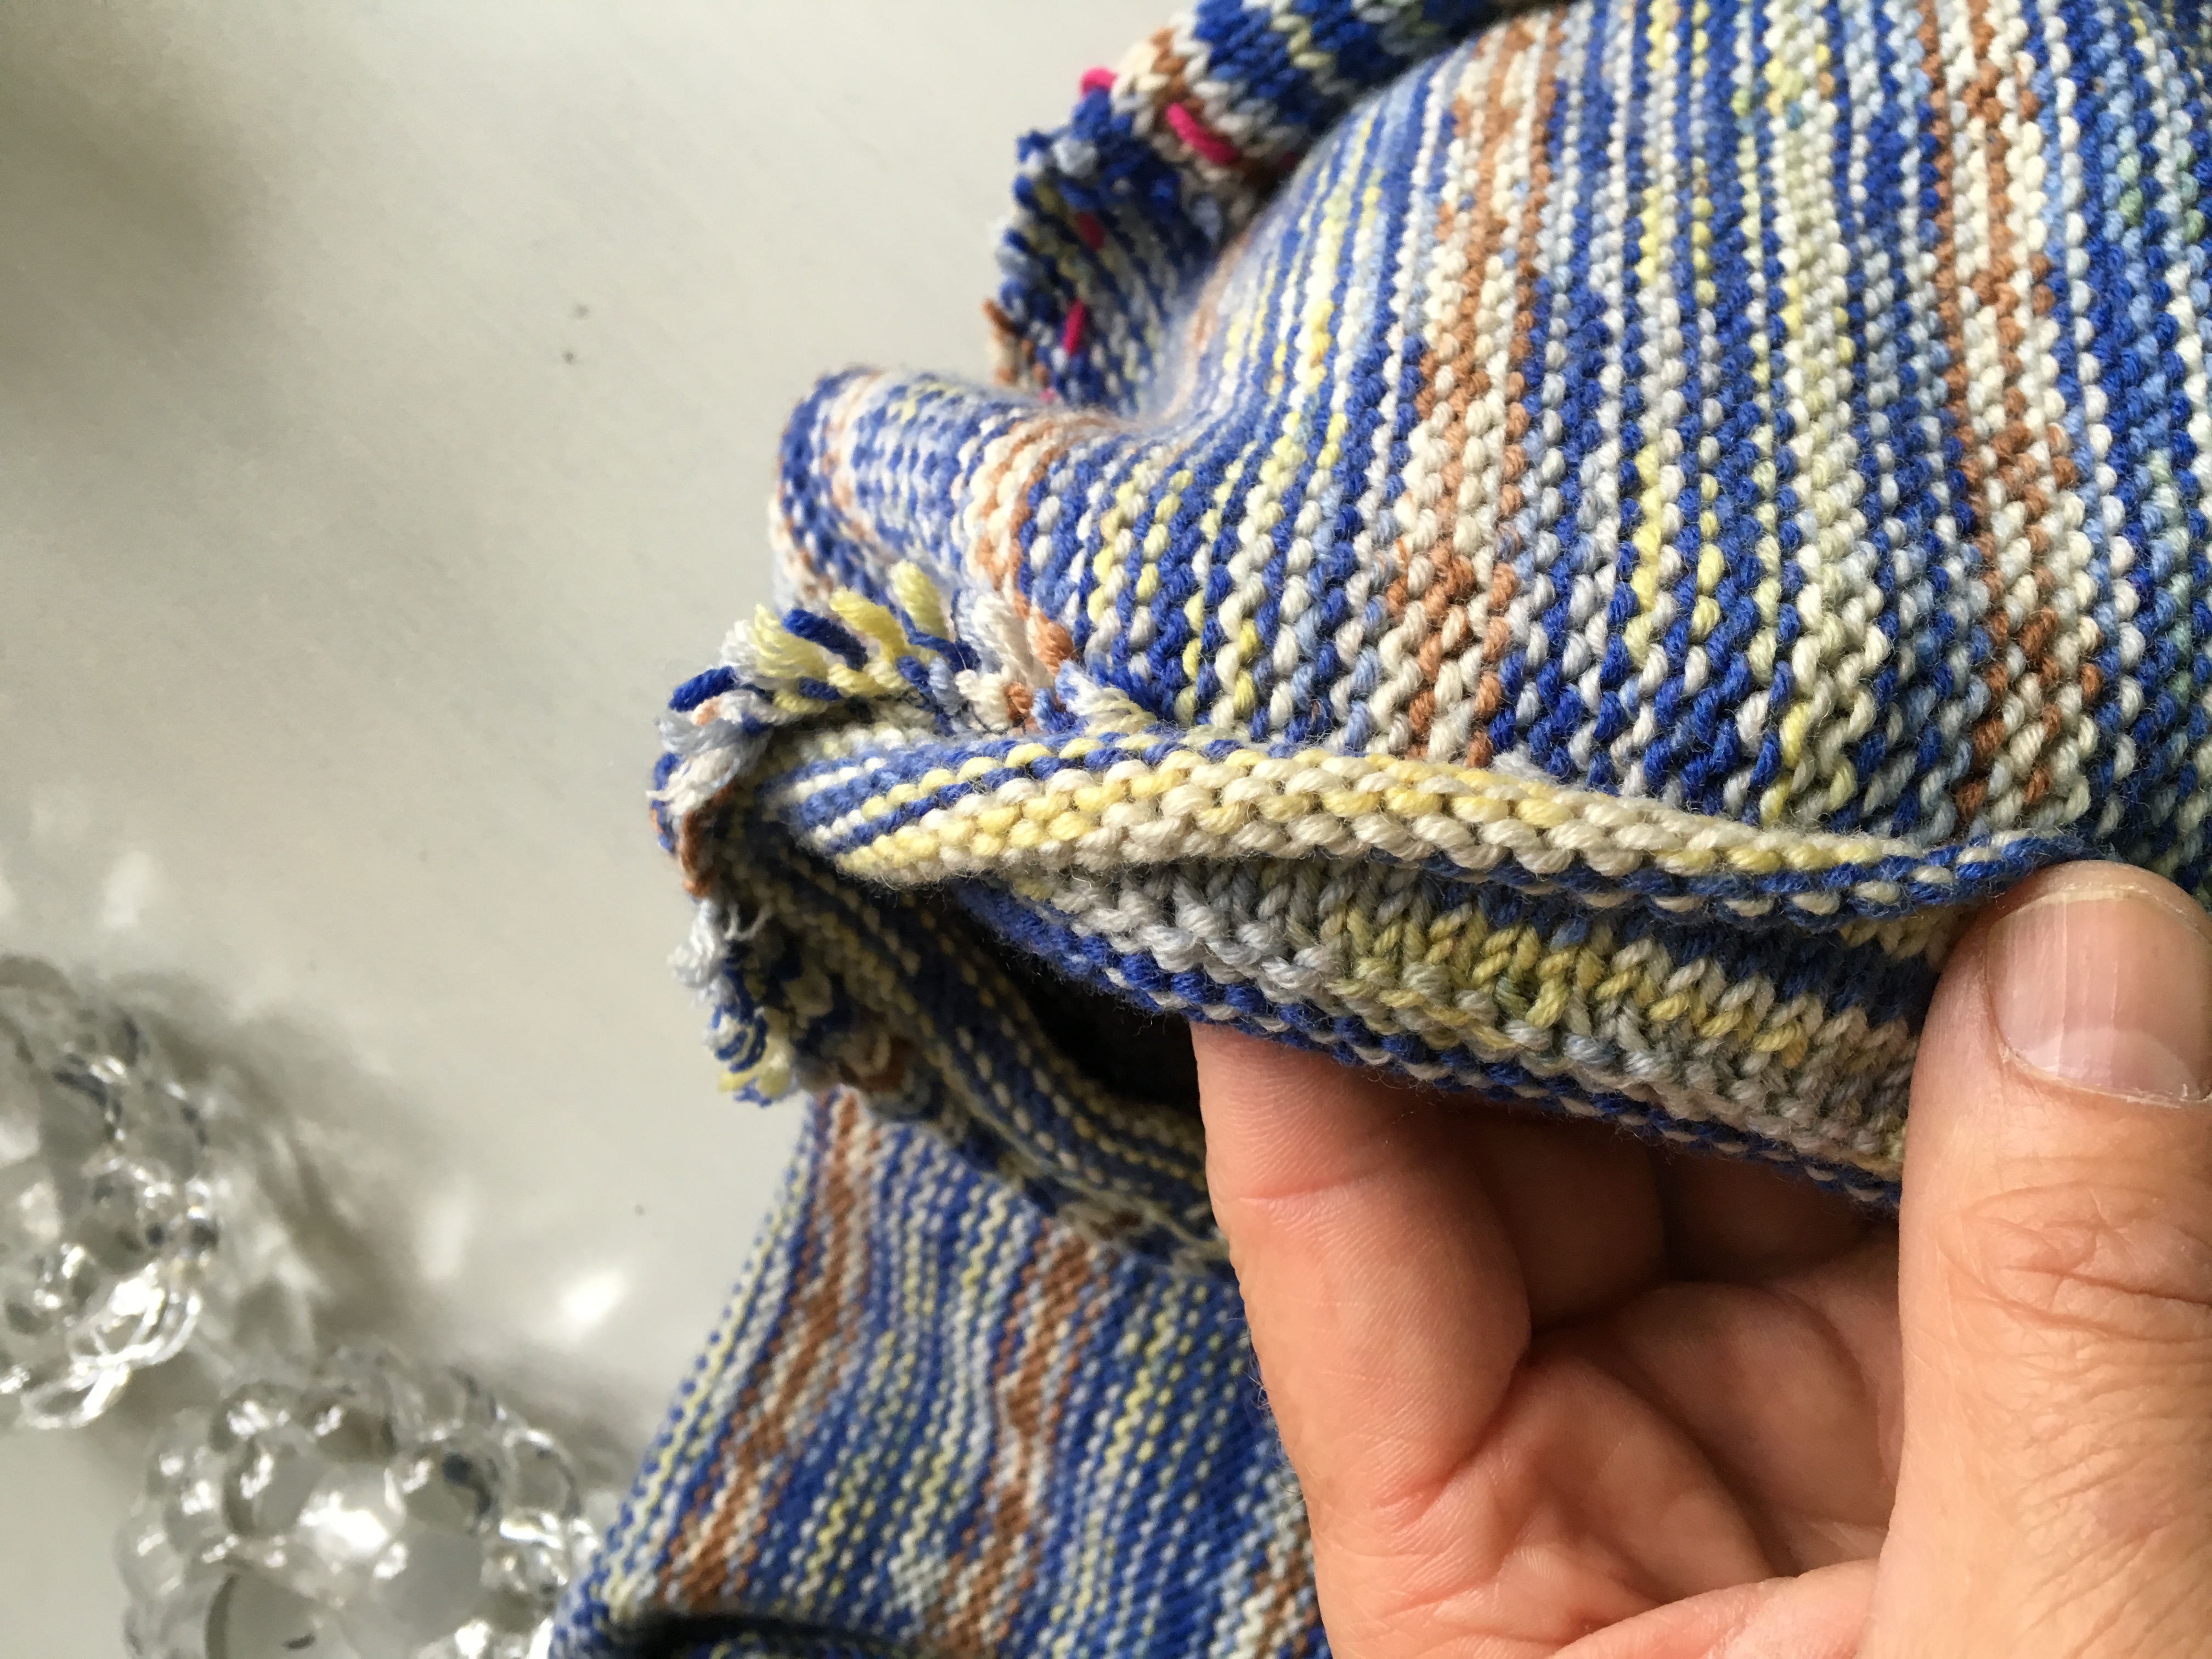
Stitch down the facing on the arm top to body. This facing is now covering the ugly edge from the cut armhole. This gives the arm a nice finish and it will also strengthen the seam.
Keep tuning on as we continue our Cardigan. Next time, we will show you how to prepare the front for steeking.
Until then, Happy Knitting!!
ARNE&CARLOS