
We are doing a 4 episode tutorial on how to knit and steek an cardigan. In this final tutorial we show you how to add a collar and how to do the finshing touches. See the tutorial here:
Please accept YouTube cookies to play videos on arnecarlos.com
By accepting you will be accessing content from YouTube, a service provided by an external third party.
If you accept this notice, your choice will be saved and the page will refresh.
Yarn: We’ve used a DK weight yarn for this cardigan, the Schachenmayr Merino Extrafine 120
-Main Colour 00500 Dovre, between 650-700 grams (13-14 balls of yarn) for a Men’s Medium Sweater.
-The placket, cuff and bottom hem were knitted in colour 00154 Jeans and you’ll need 100 grams (2 balls of yarn)
Buy the yarn here.
Collar:
When your plackets are ready and sewn on the body and the facing is stitched down on the inside, you can make the rib around the neck. For the collar, we use a short circular size 3.mm
Pick up st around the neck, next to the seam. This number of sts will be very differnt on every jacket, what you need is number of stitches divided with 2 + 1, on this rib you knit * k1, p1 * back and forth, if you start with k1 you should stop with k1. We didn´t caount the stitches, but we had to knit 2tog to get k1 in the beginning and in the end of the needle. Our collar is 3 cm high when finnished. For a 3cm high collar, you knit 1,5cm and the you make a button hole the same way as on the front placket, knit 1,5 cm and make a nice edge.
Knit 3cm more and bind off. Stitch the collar down on the inside and sew the collar together in front and stitch the button hole together. Sew on the buttons and you have made a jacket!
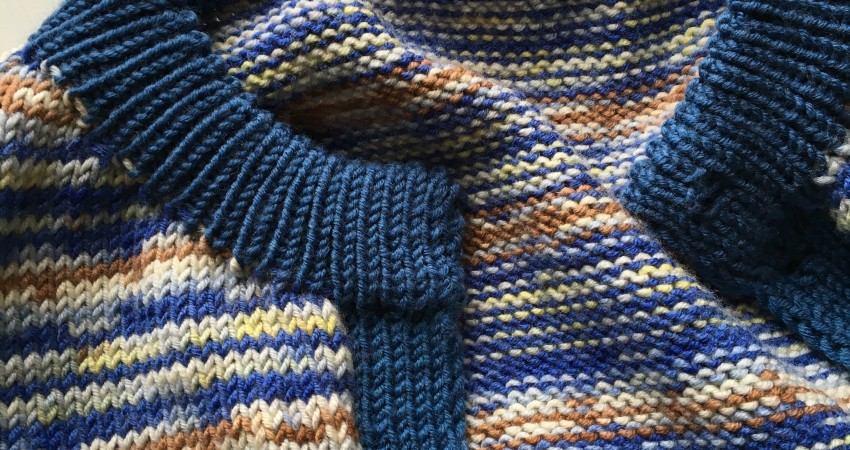
Pick up stitches around the neck opening and on top of the plackets.
Knit * k1, p1* back and forth, k on k, p on p. Remember to knit a button hole on the center of your collar and on the correct side.
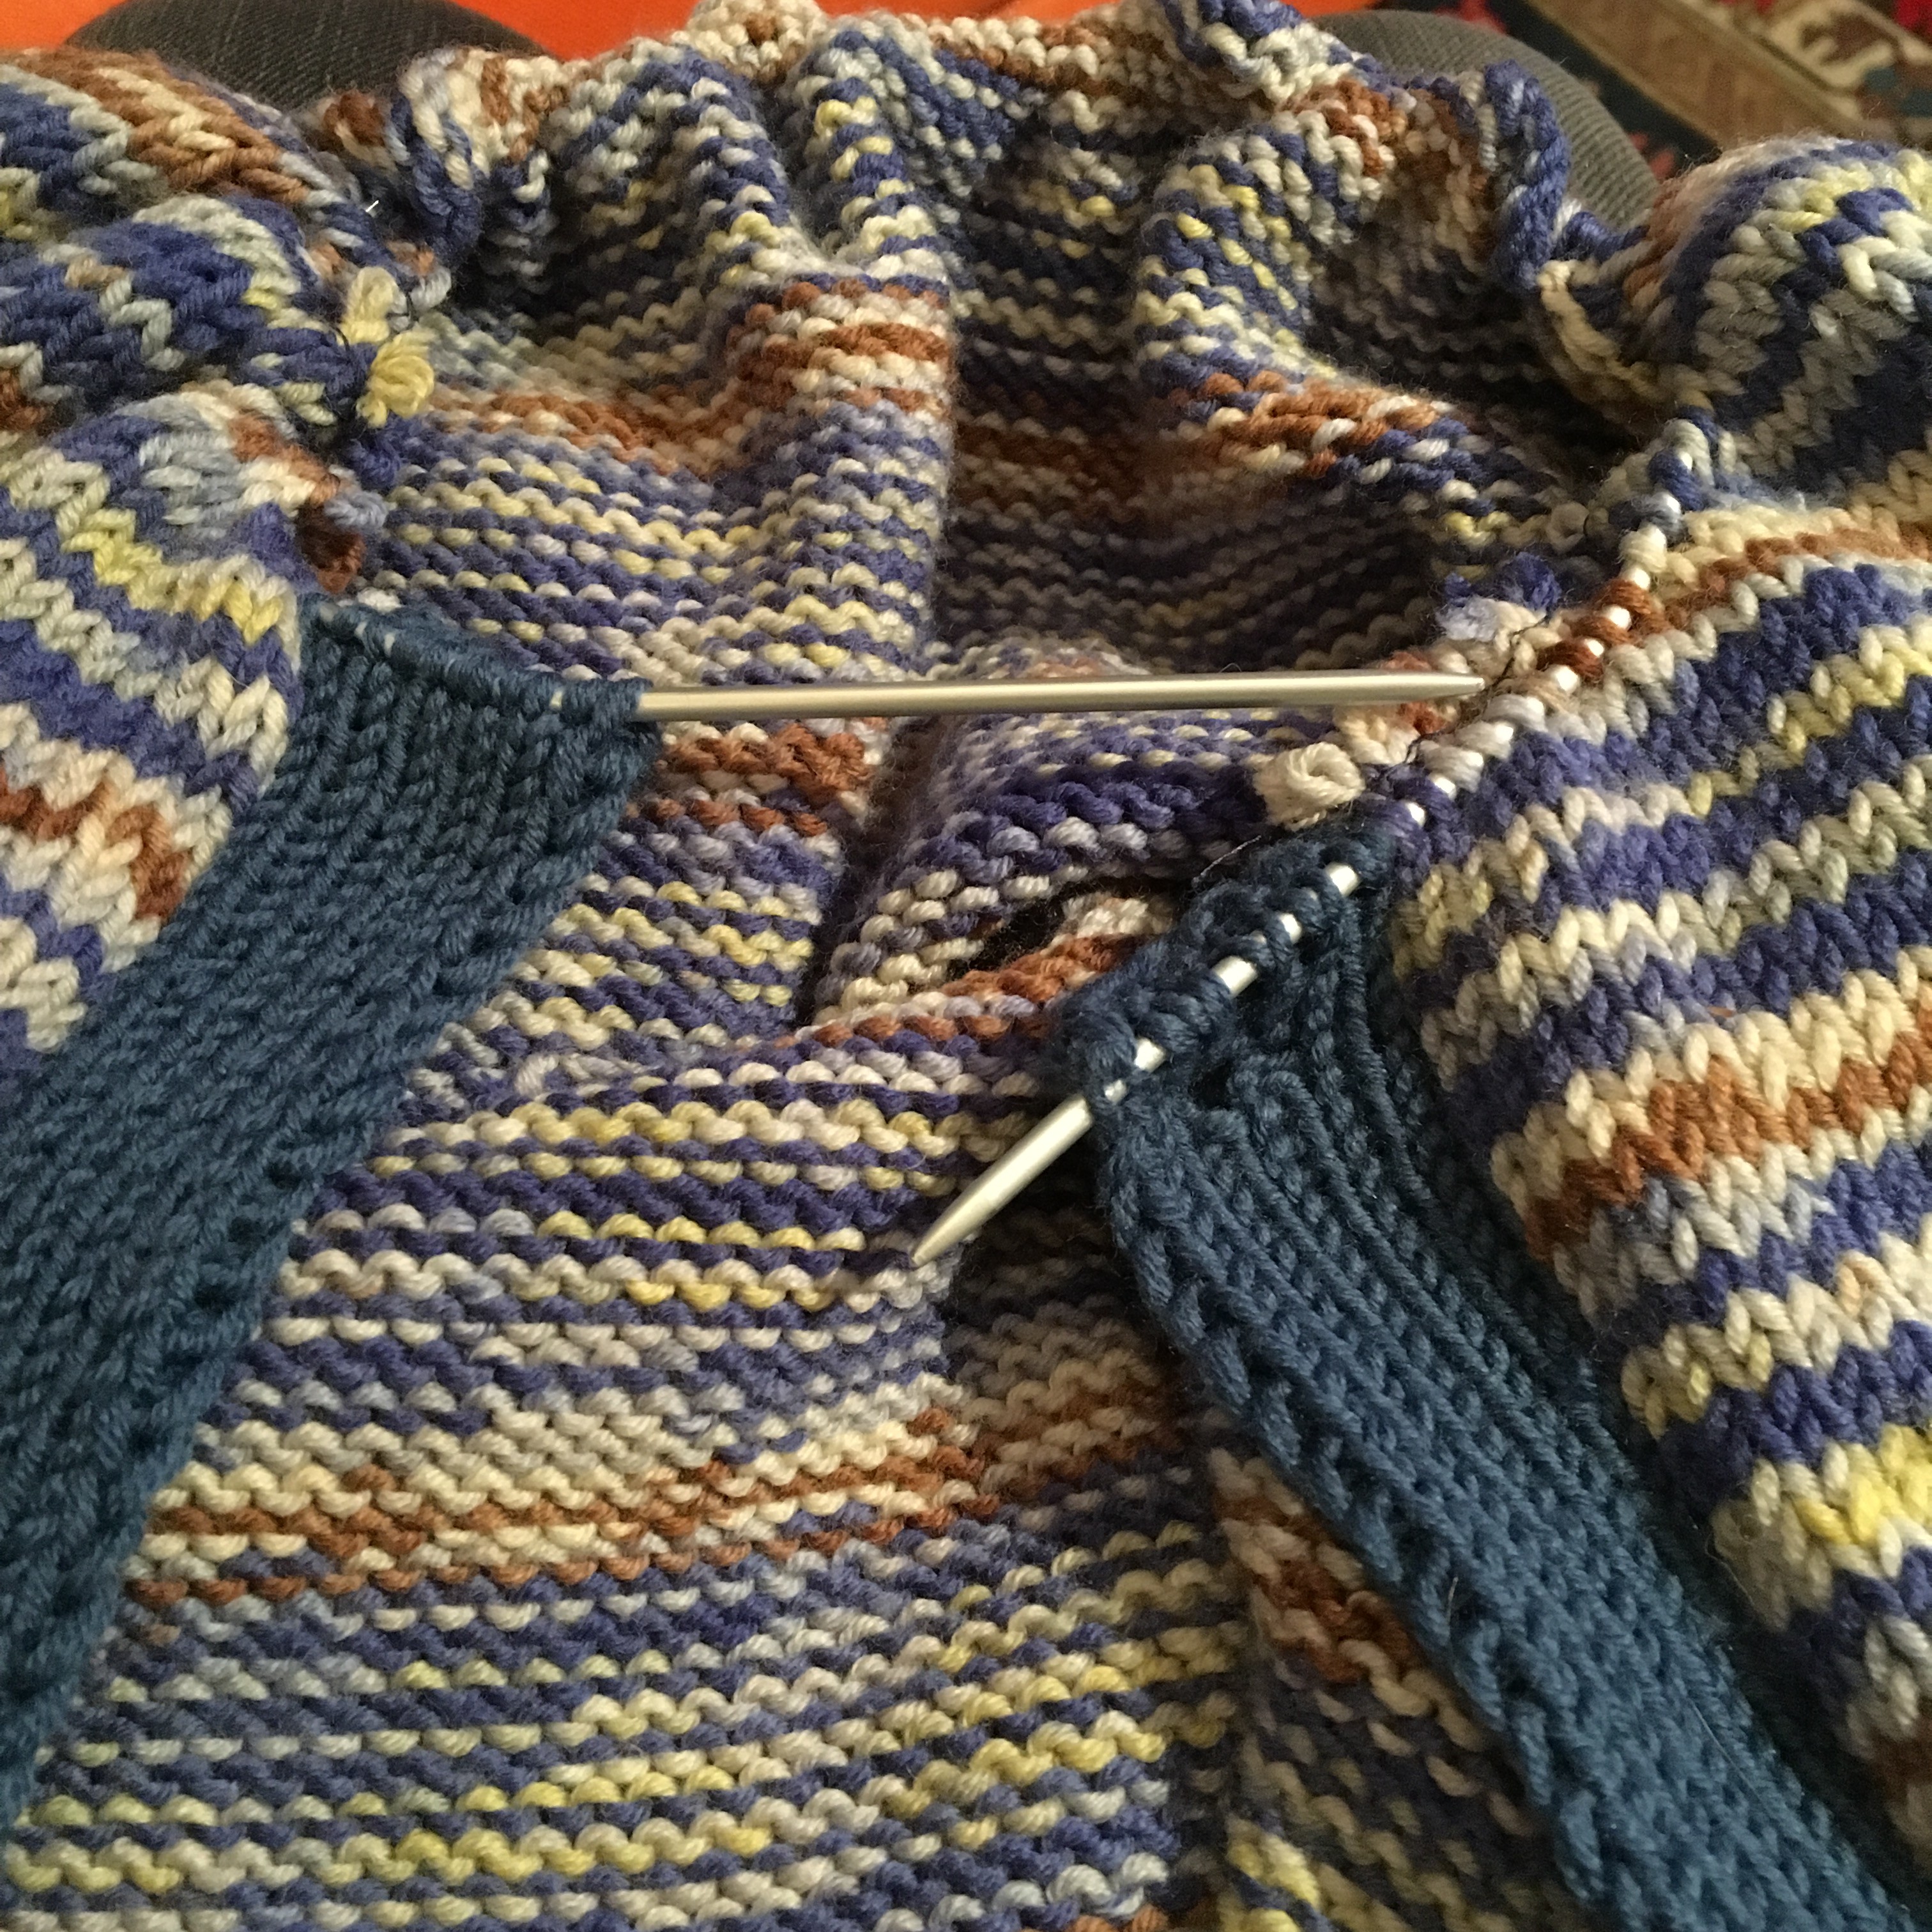
When you got the height of your collar, knit one needle with * k2tog, yo * make sure you get the same number of stitches as you started with when you finish the needle. We knitted this needle with the inside of the garment facing towards us.

First button hole finished.

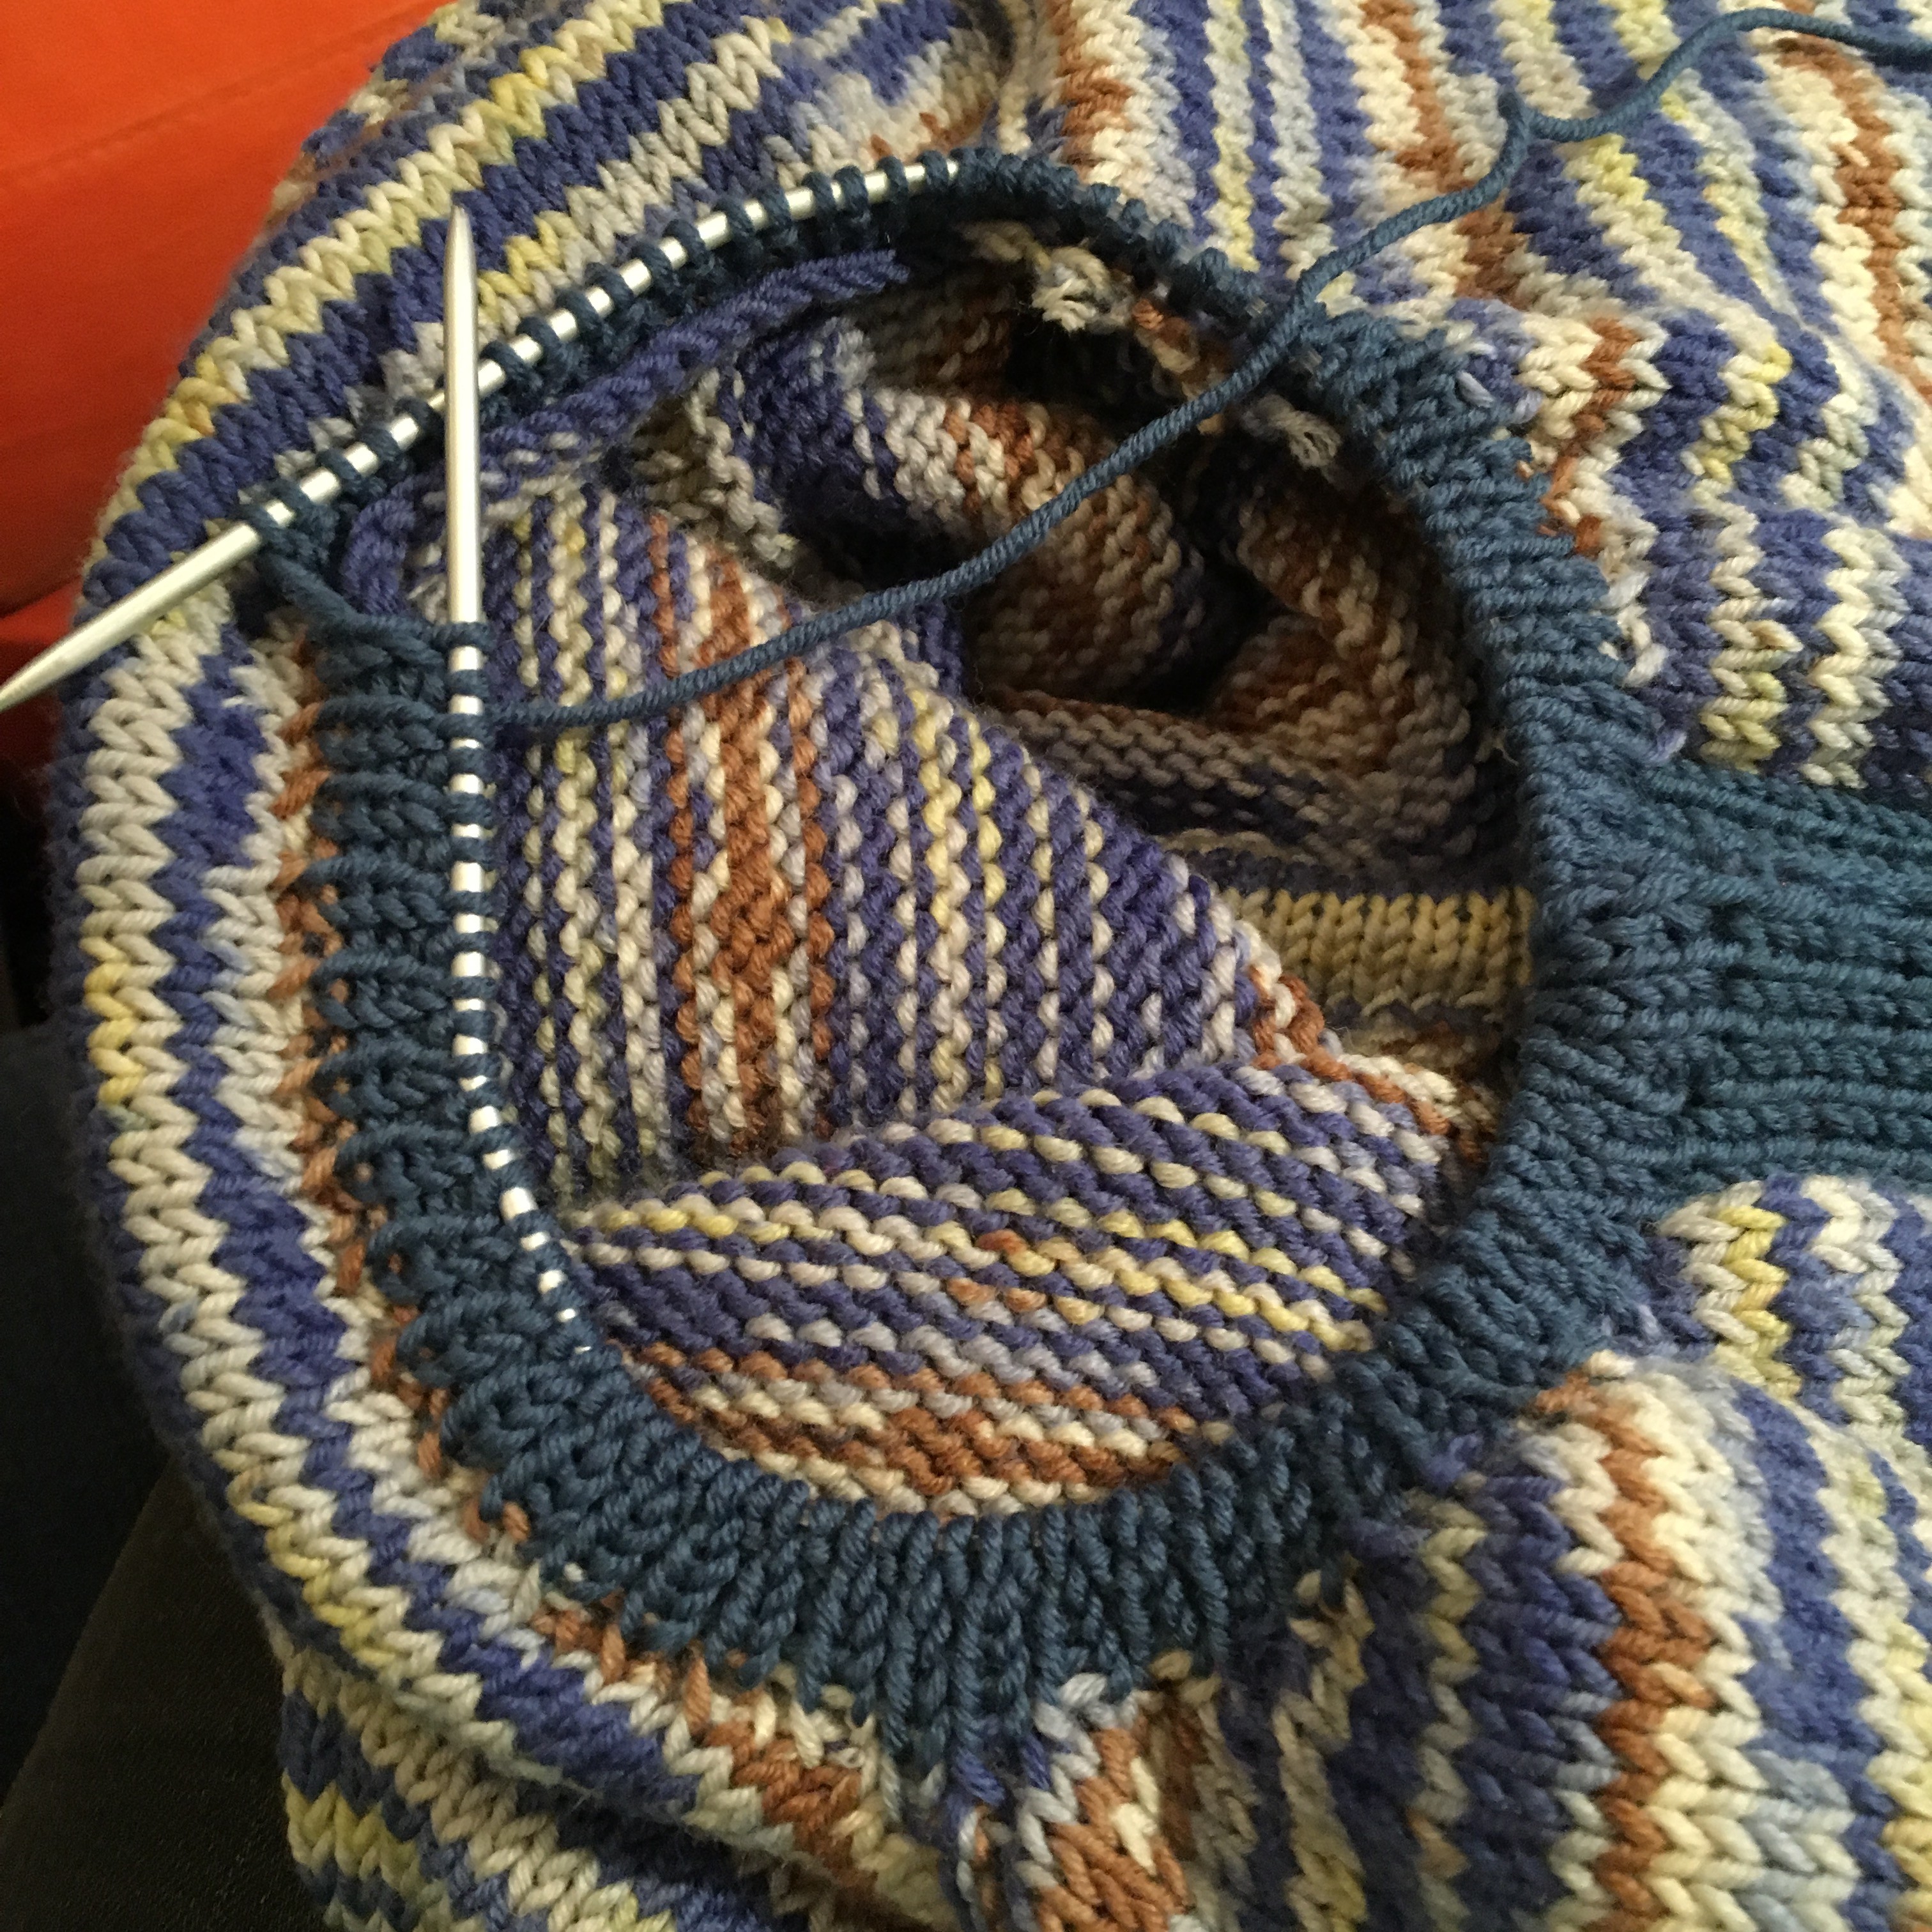
When you knit the stitches you made, knit these in purl, this way you get the nicest edging on your collar.
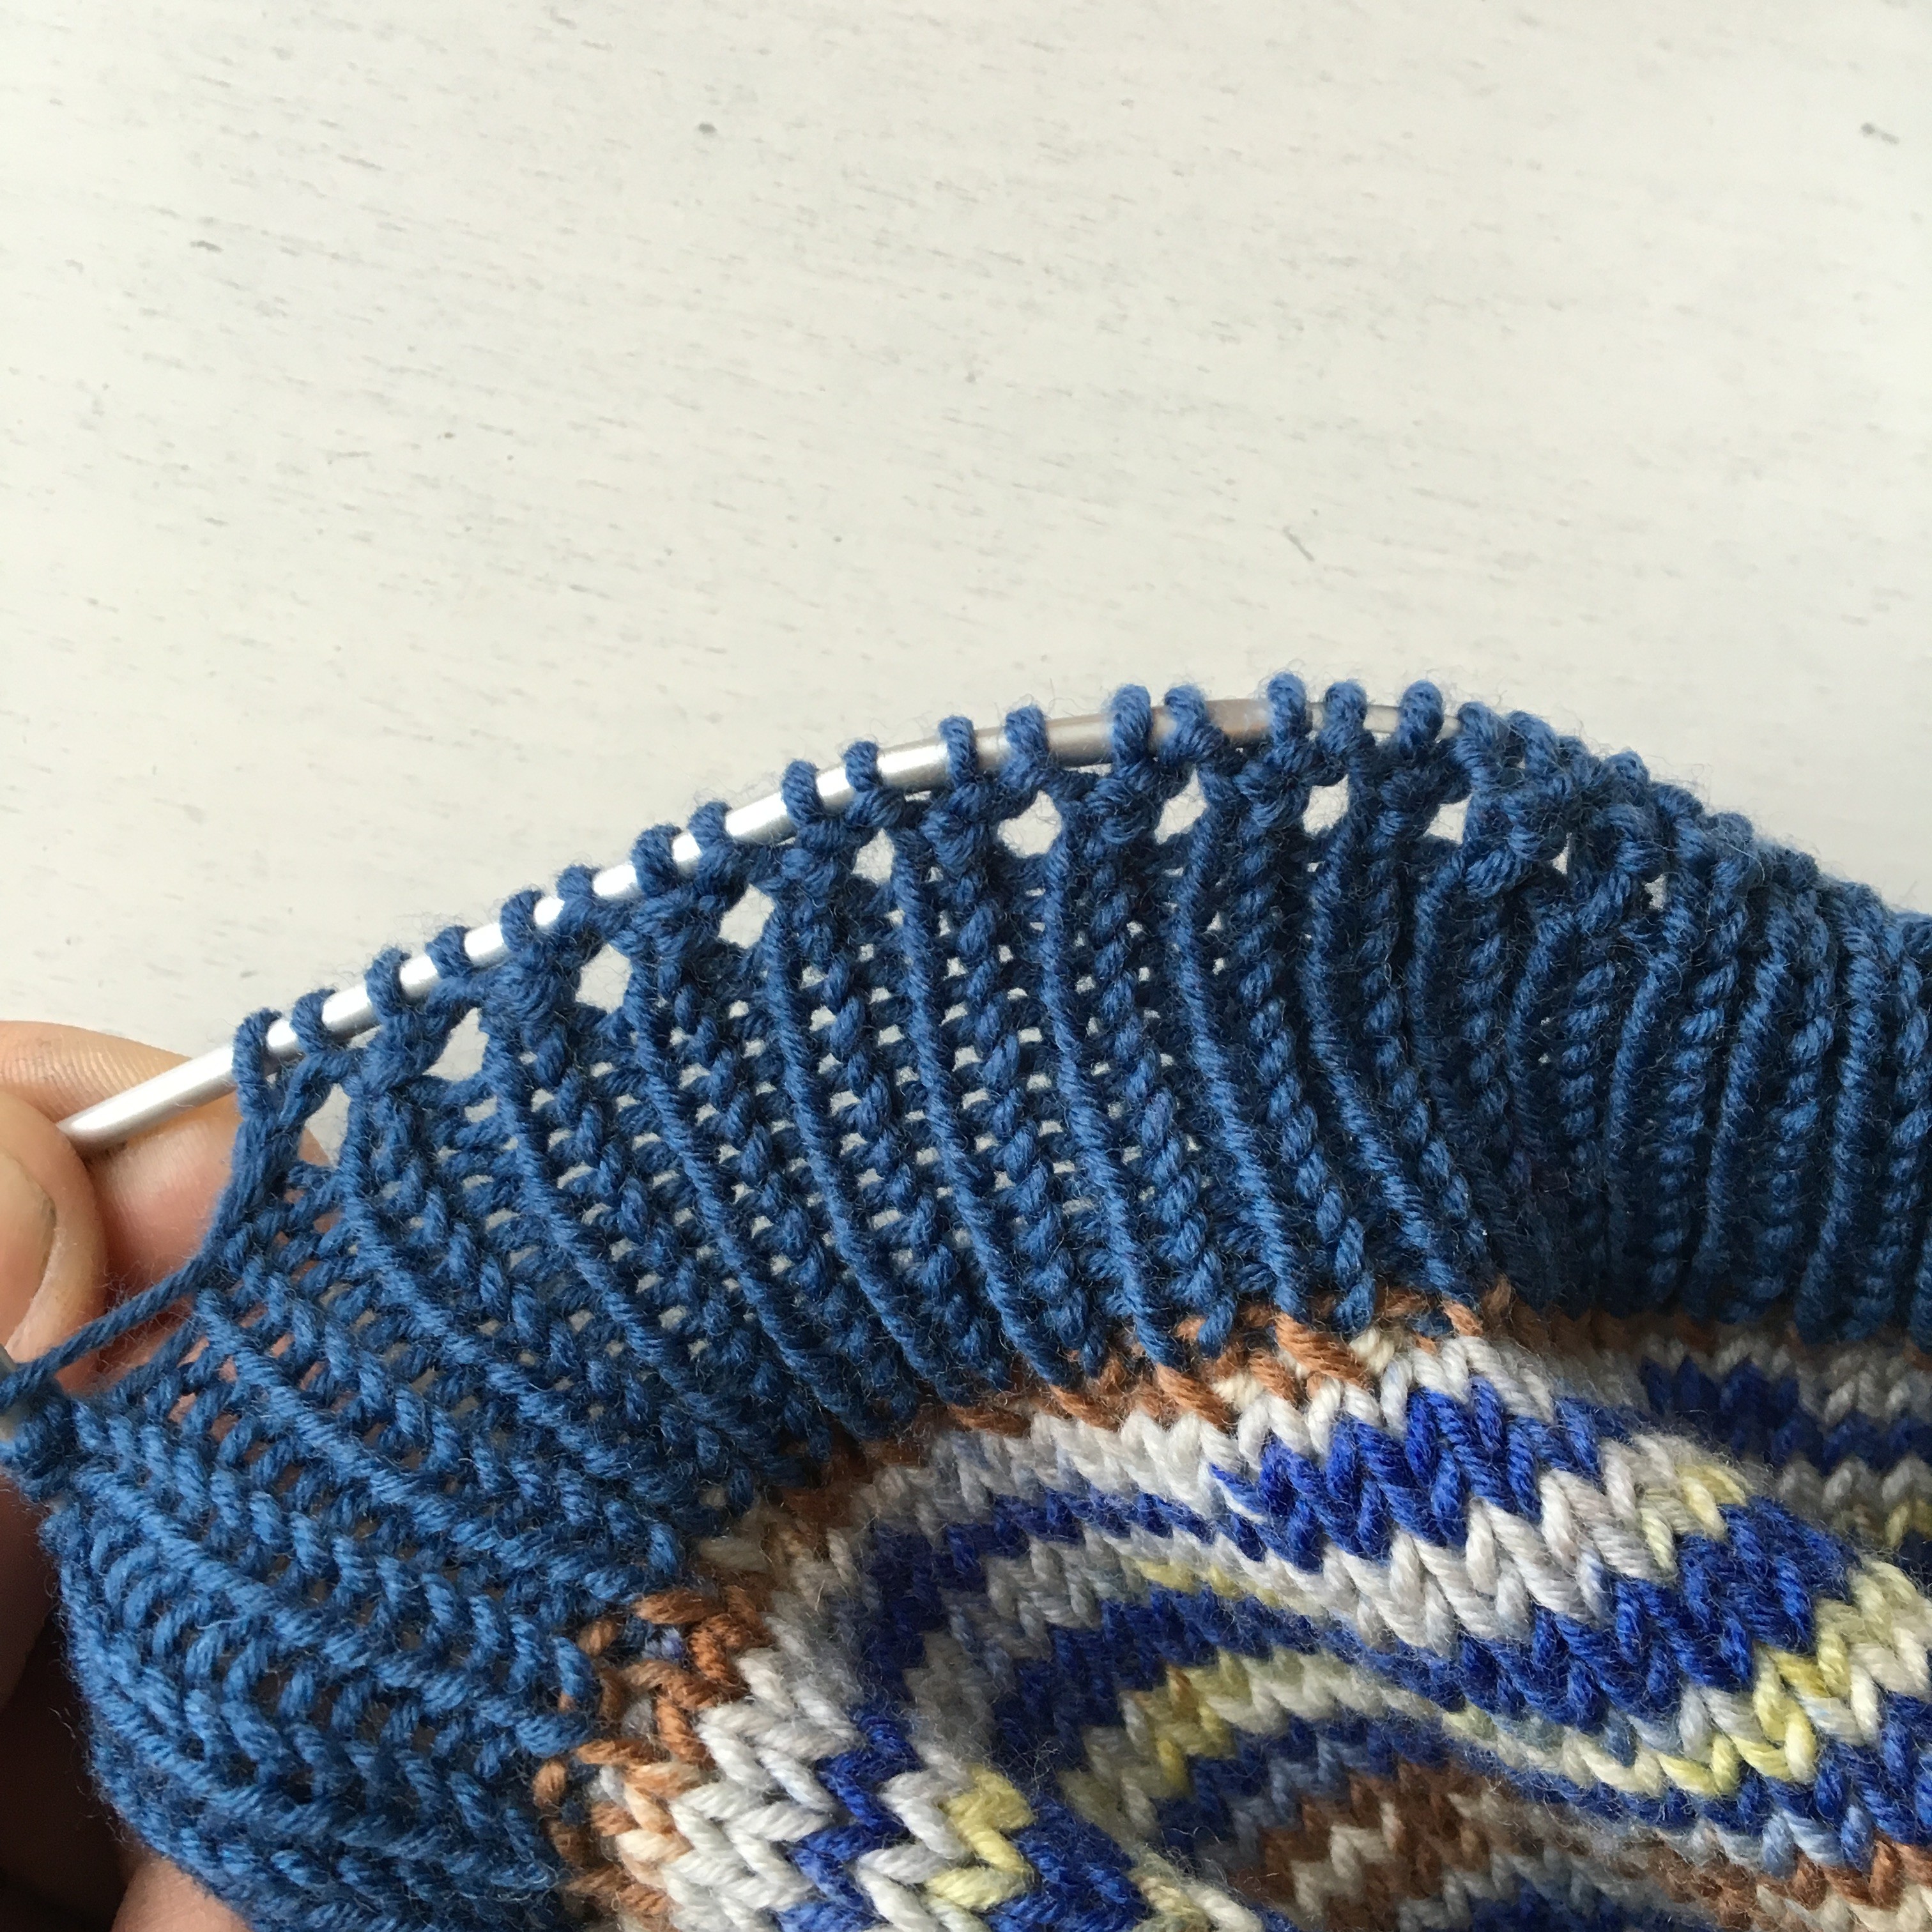
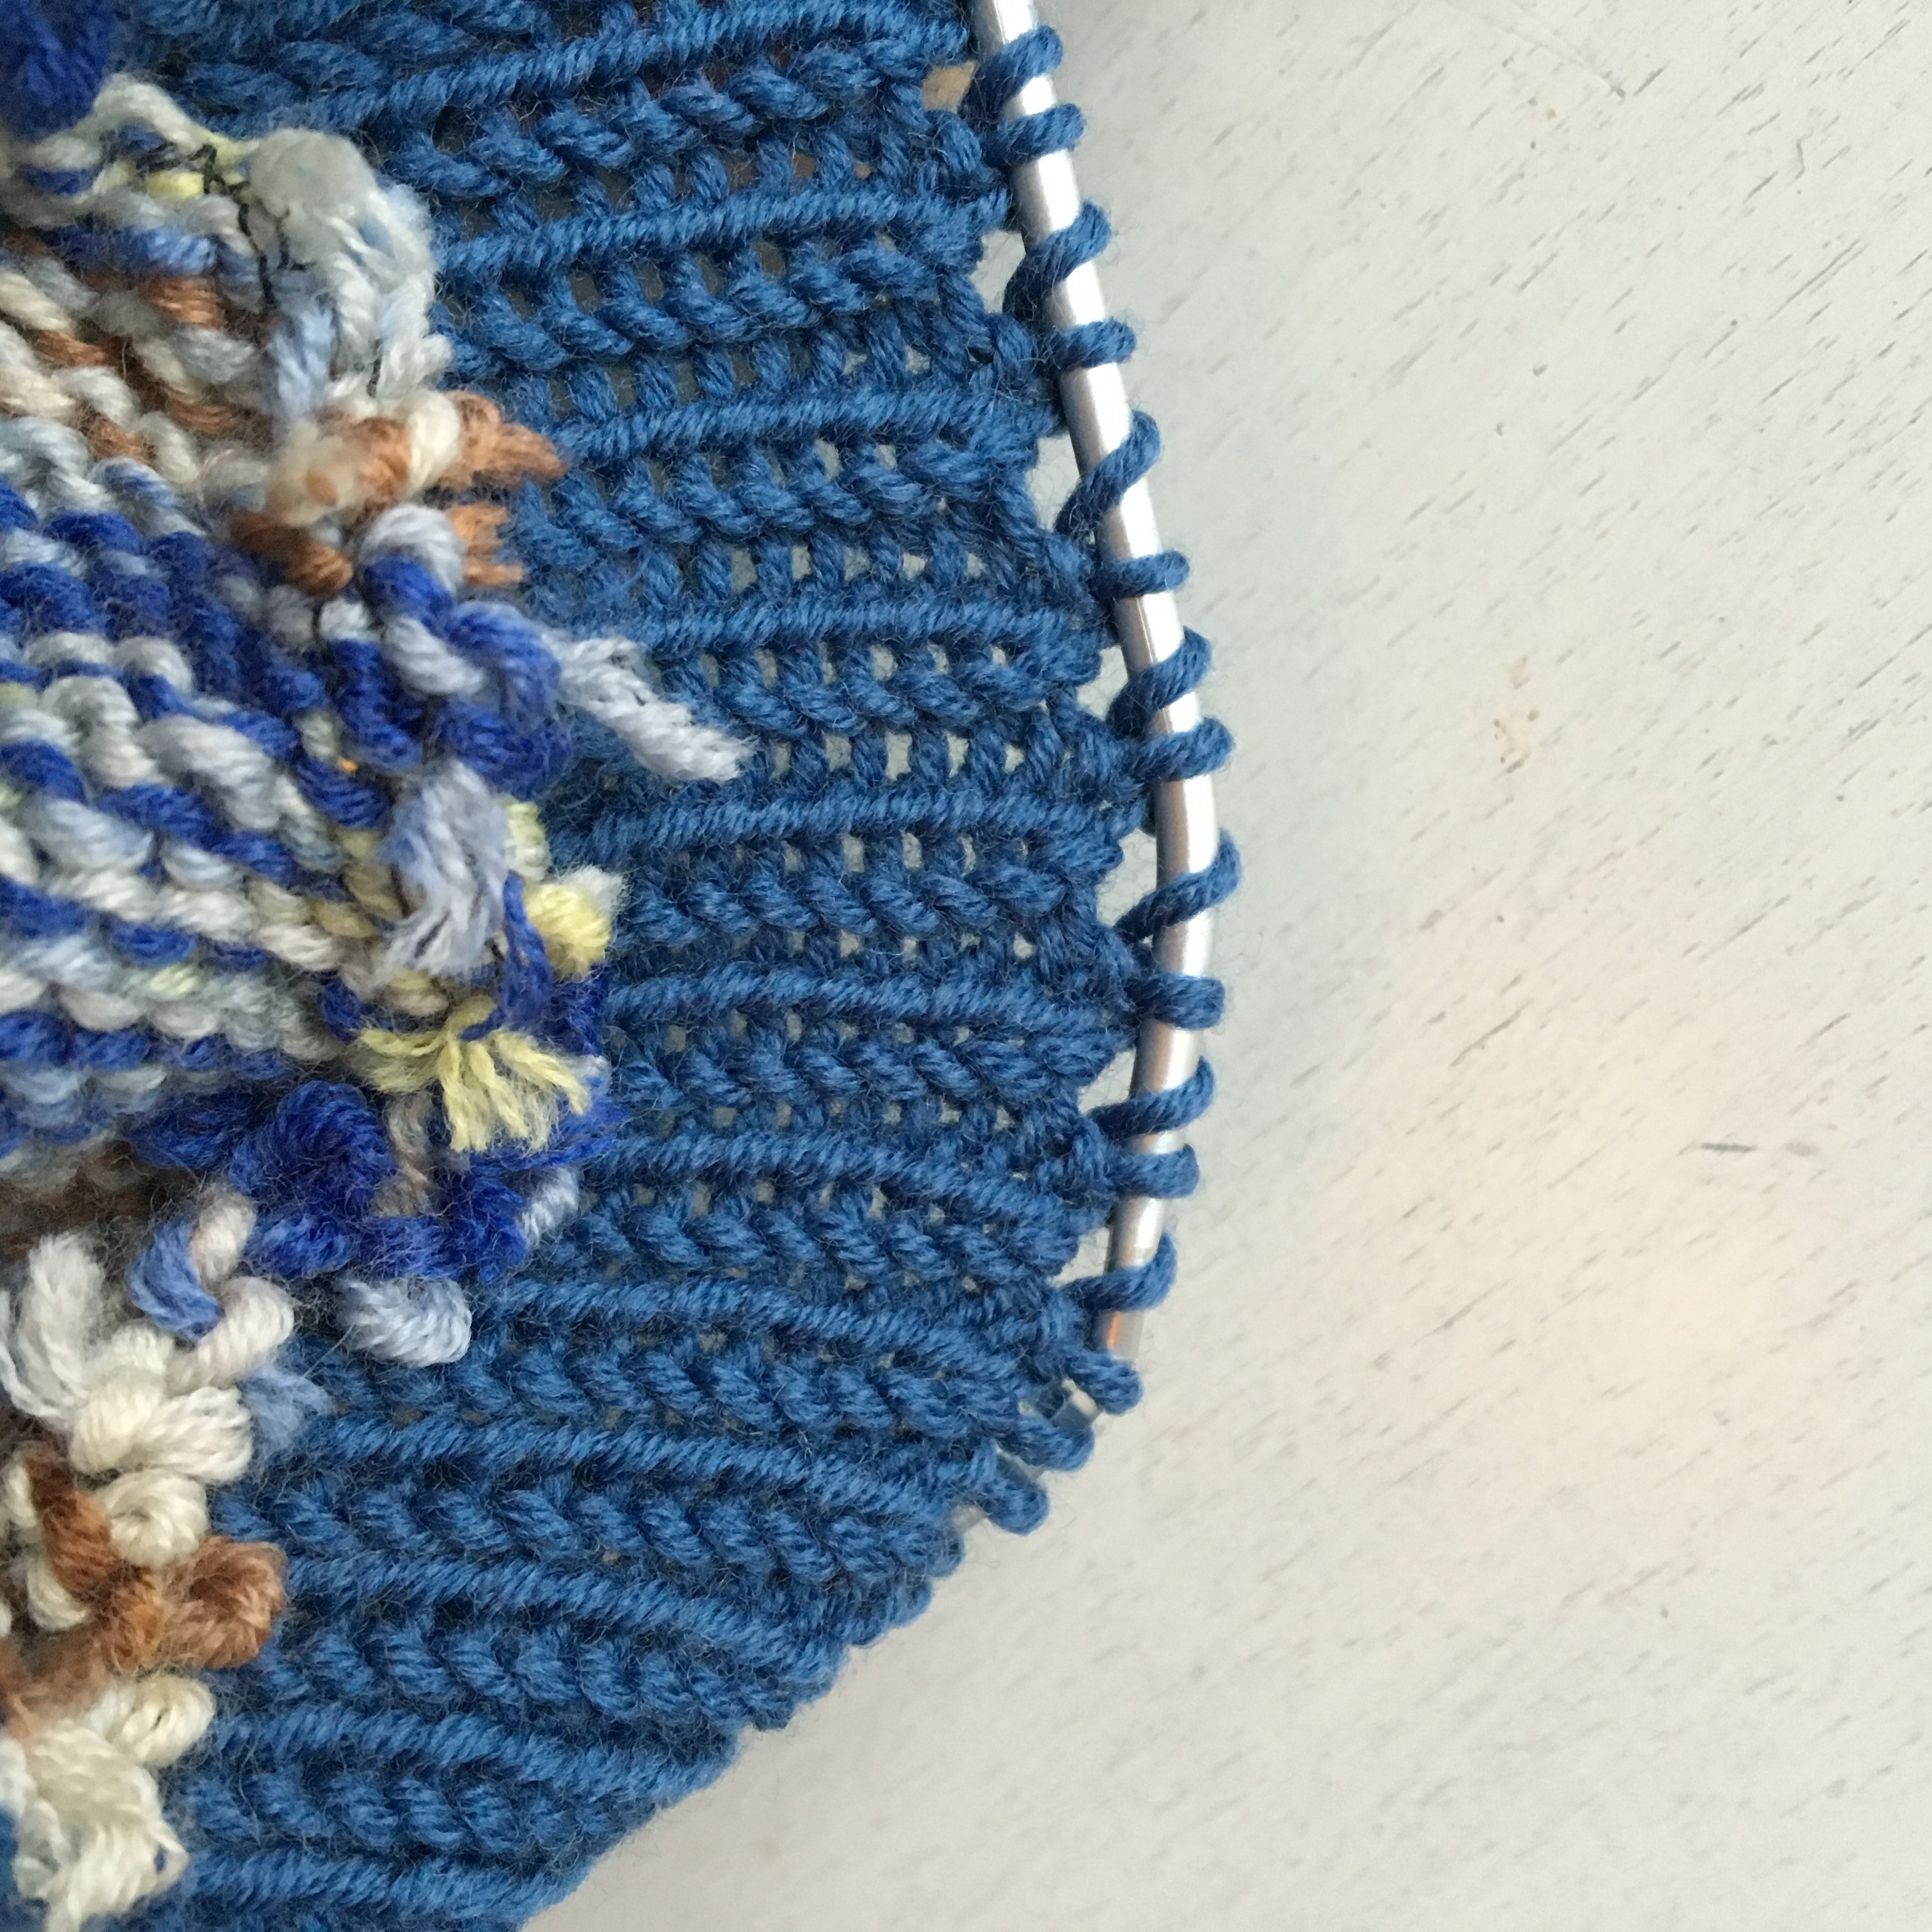
A nice line of holes on top of your collar. Now you knit the same amount of needles again to finish the inside of the collar.
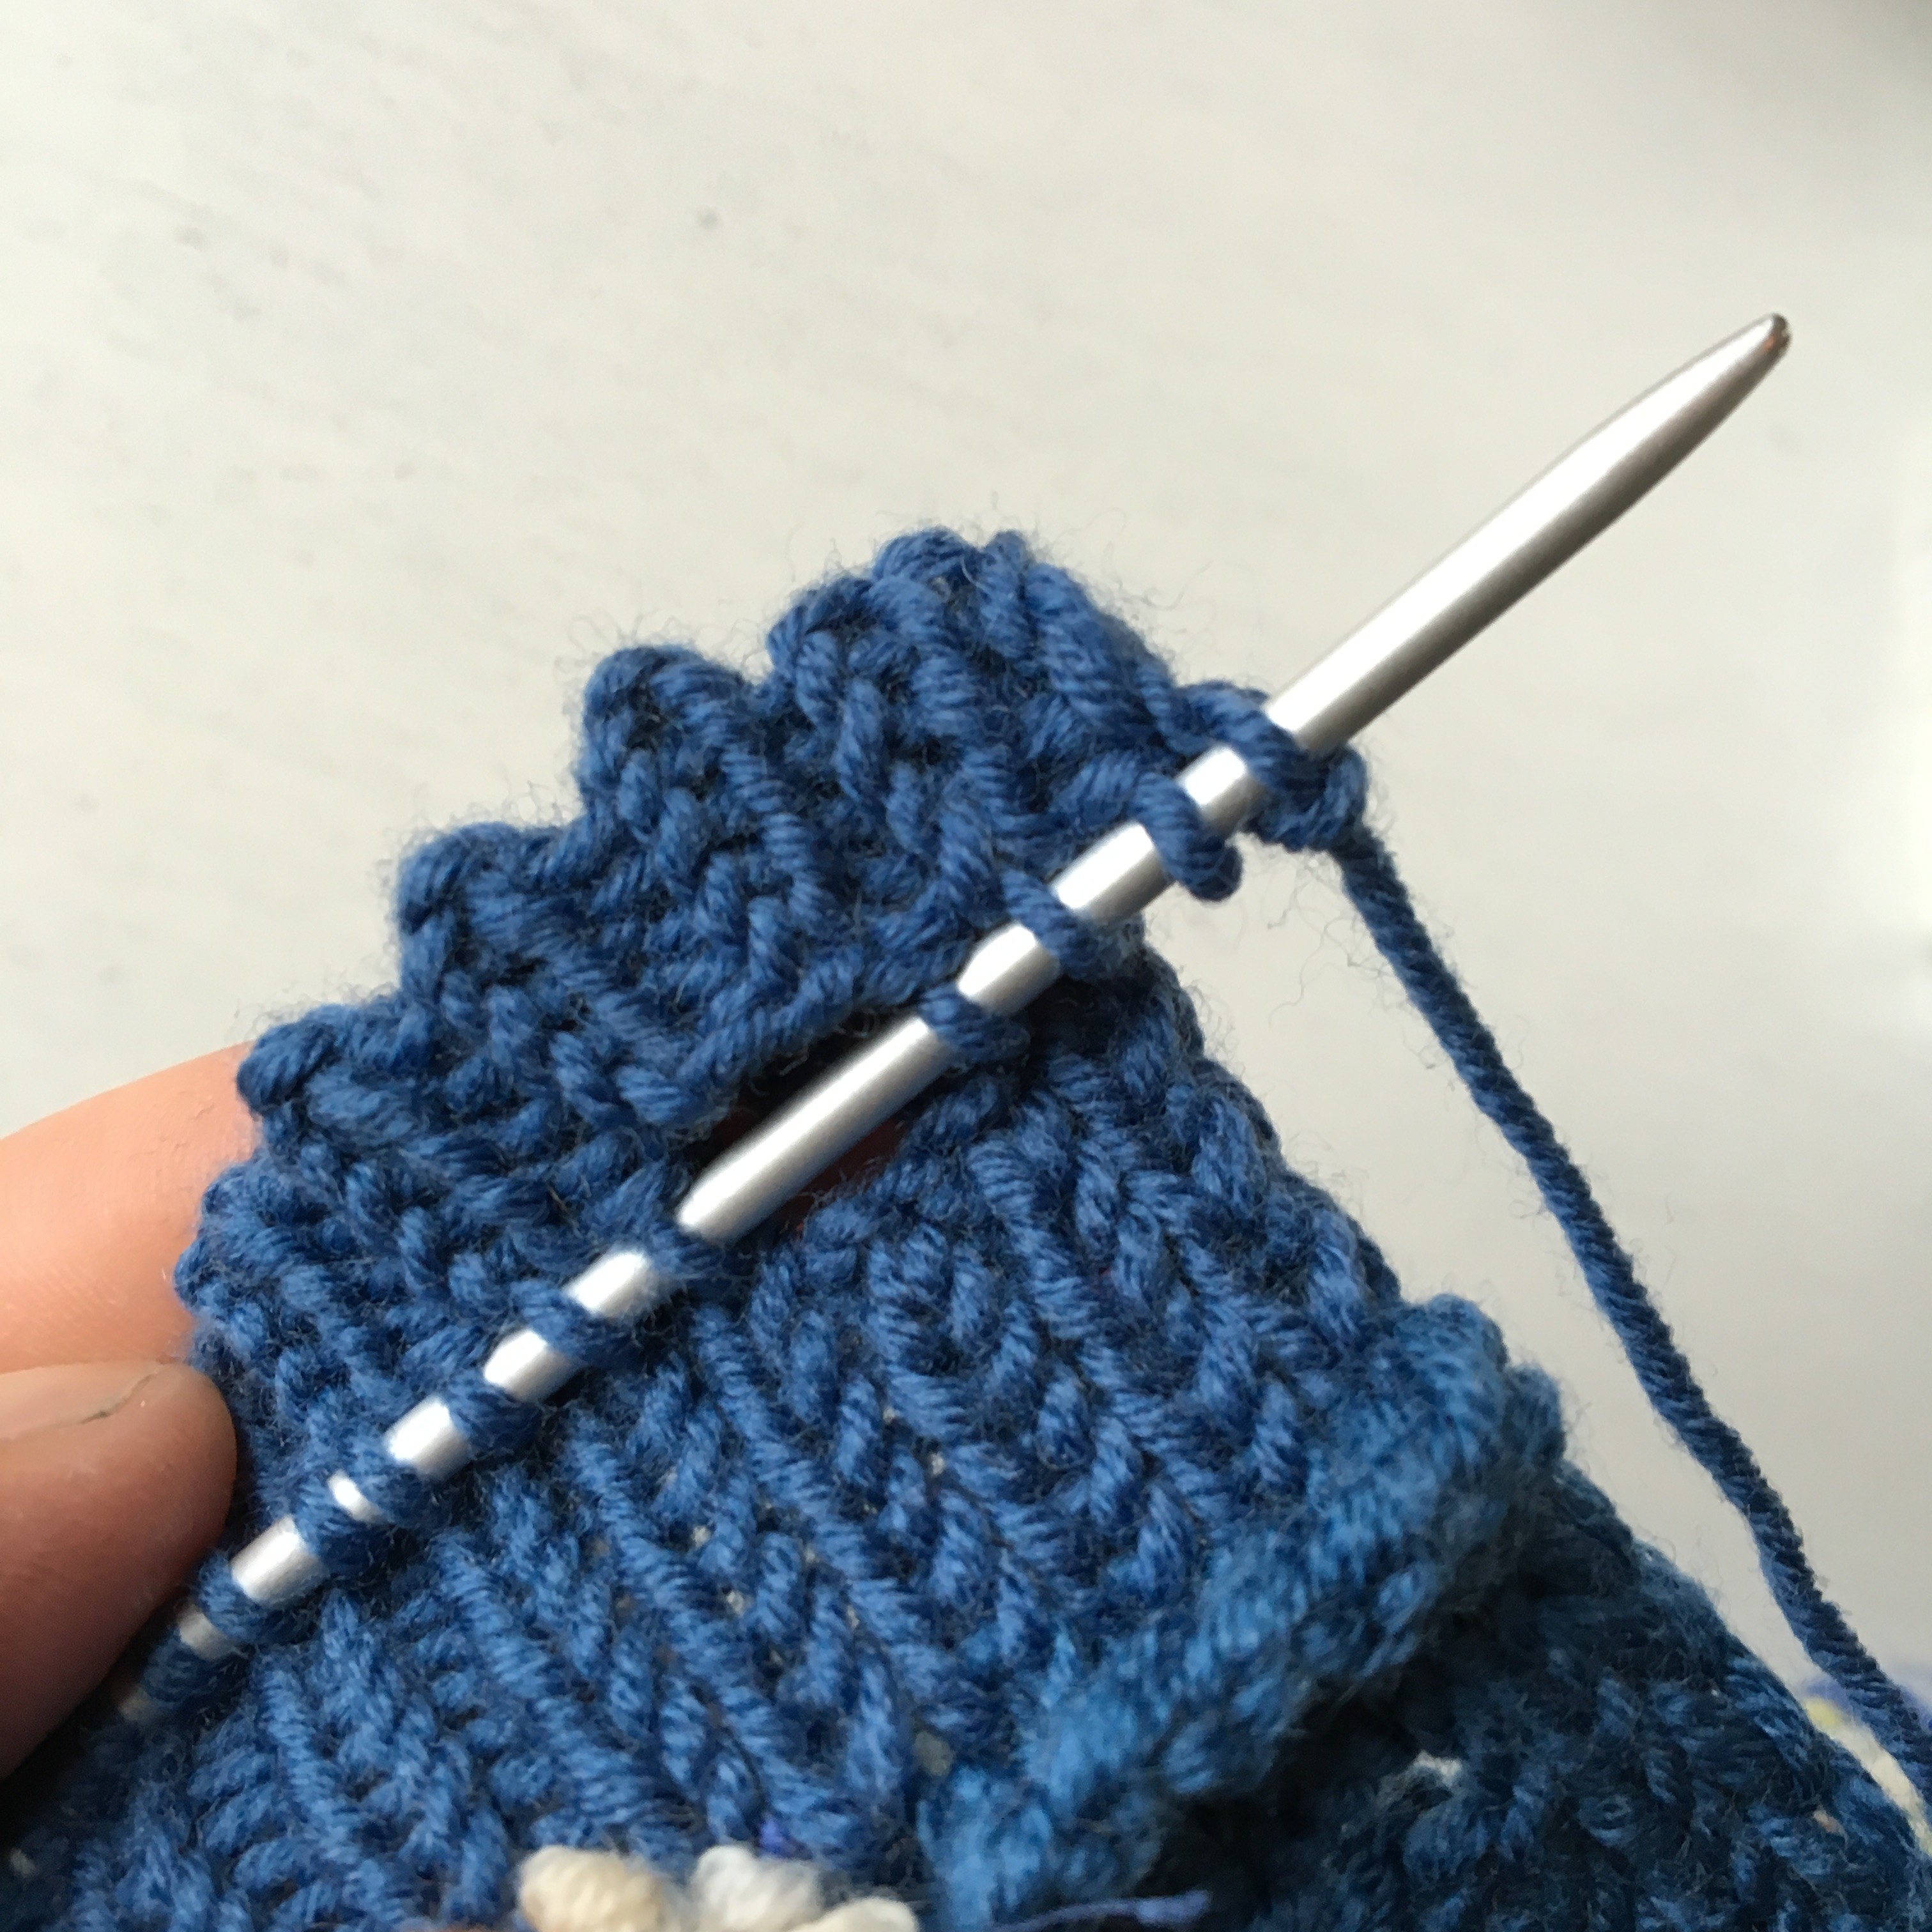
When you are down to the button hole on the front, knit a new one that comes over the first one and stitch these two buttonholes together when the collar is finished and sew down to the garment on the inside.
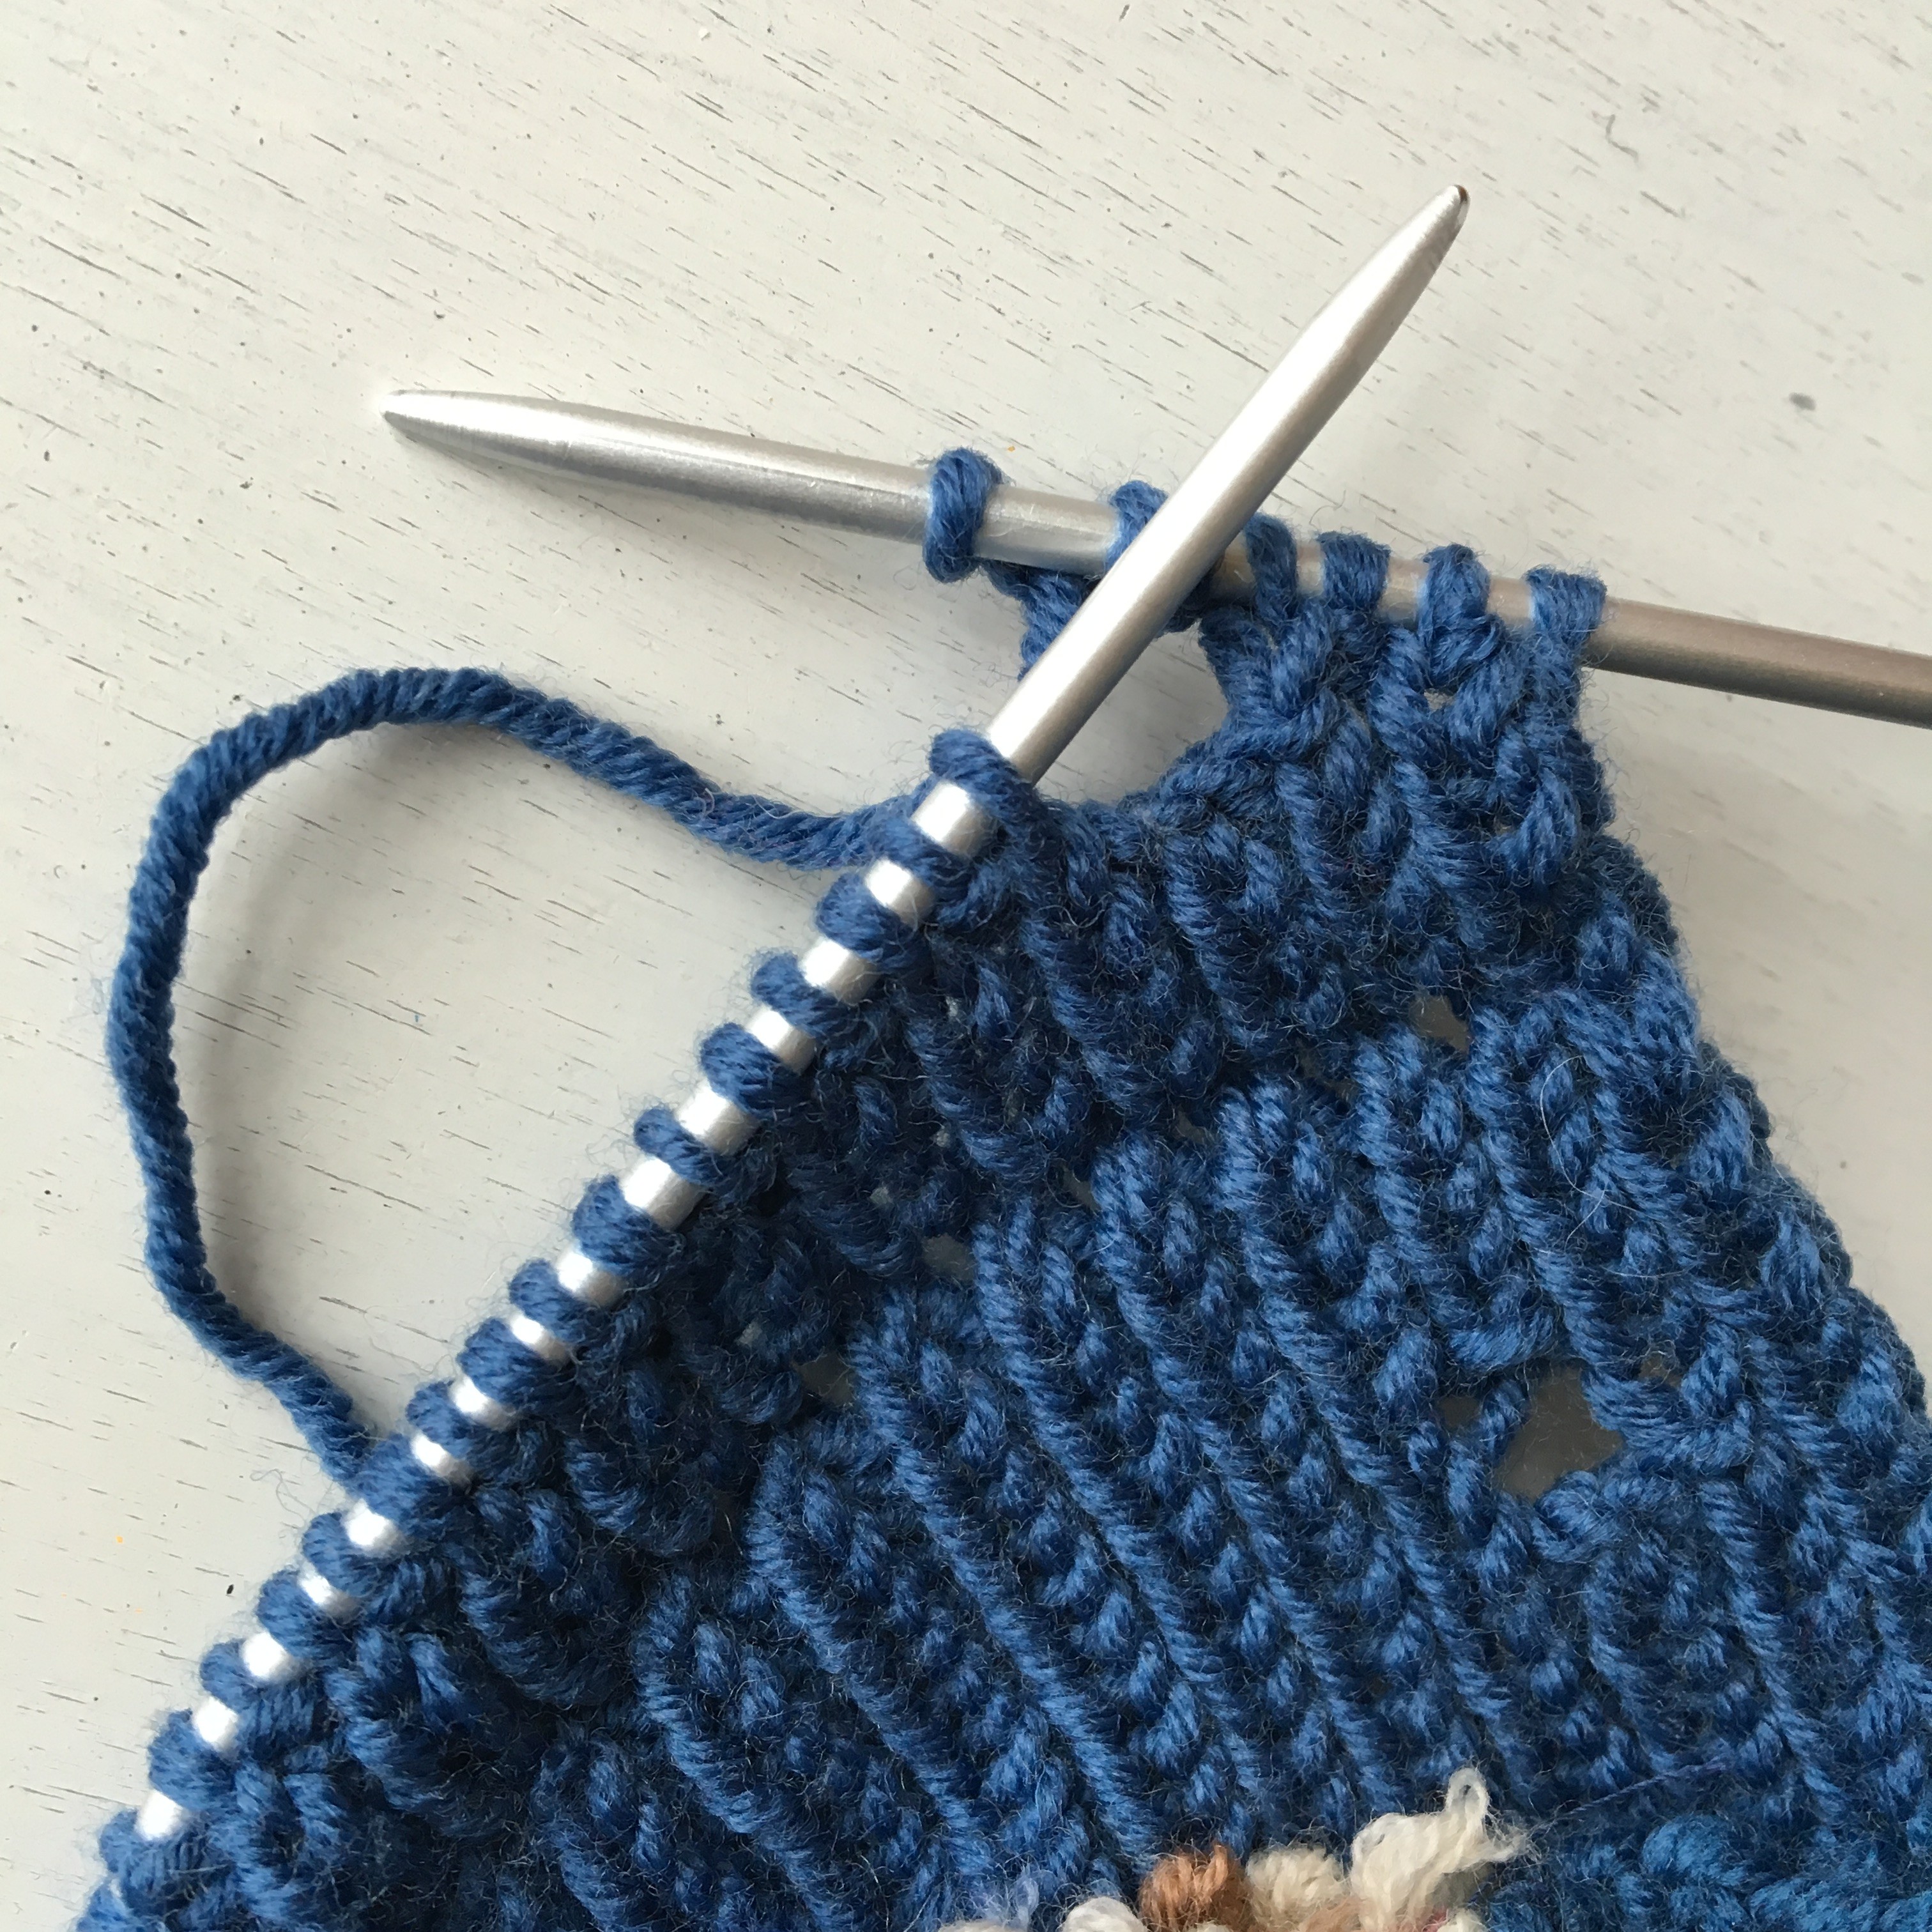
On our button hole we knitted 4 stitches and BO 3. On the next needle you have to make those 3 stitches that you BO.

Stitch down the neck tab on the inside of the garment, on the same line as you picked the stitches up on.
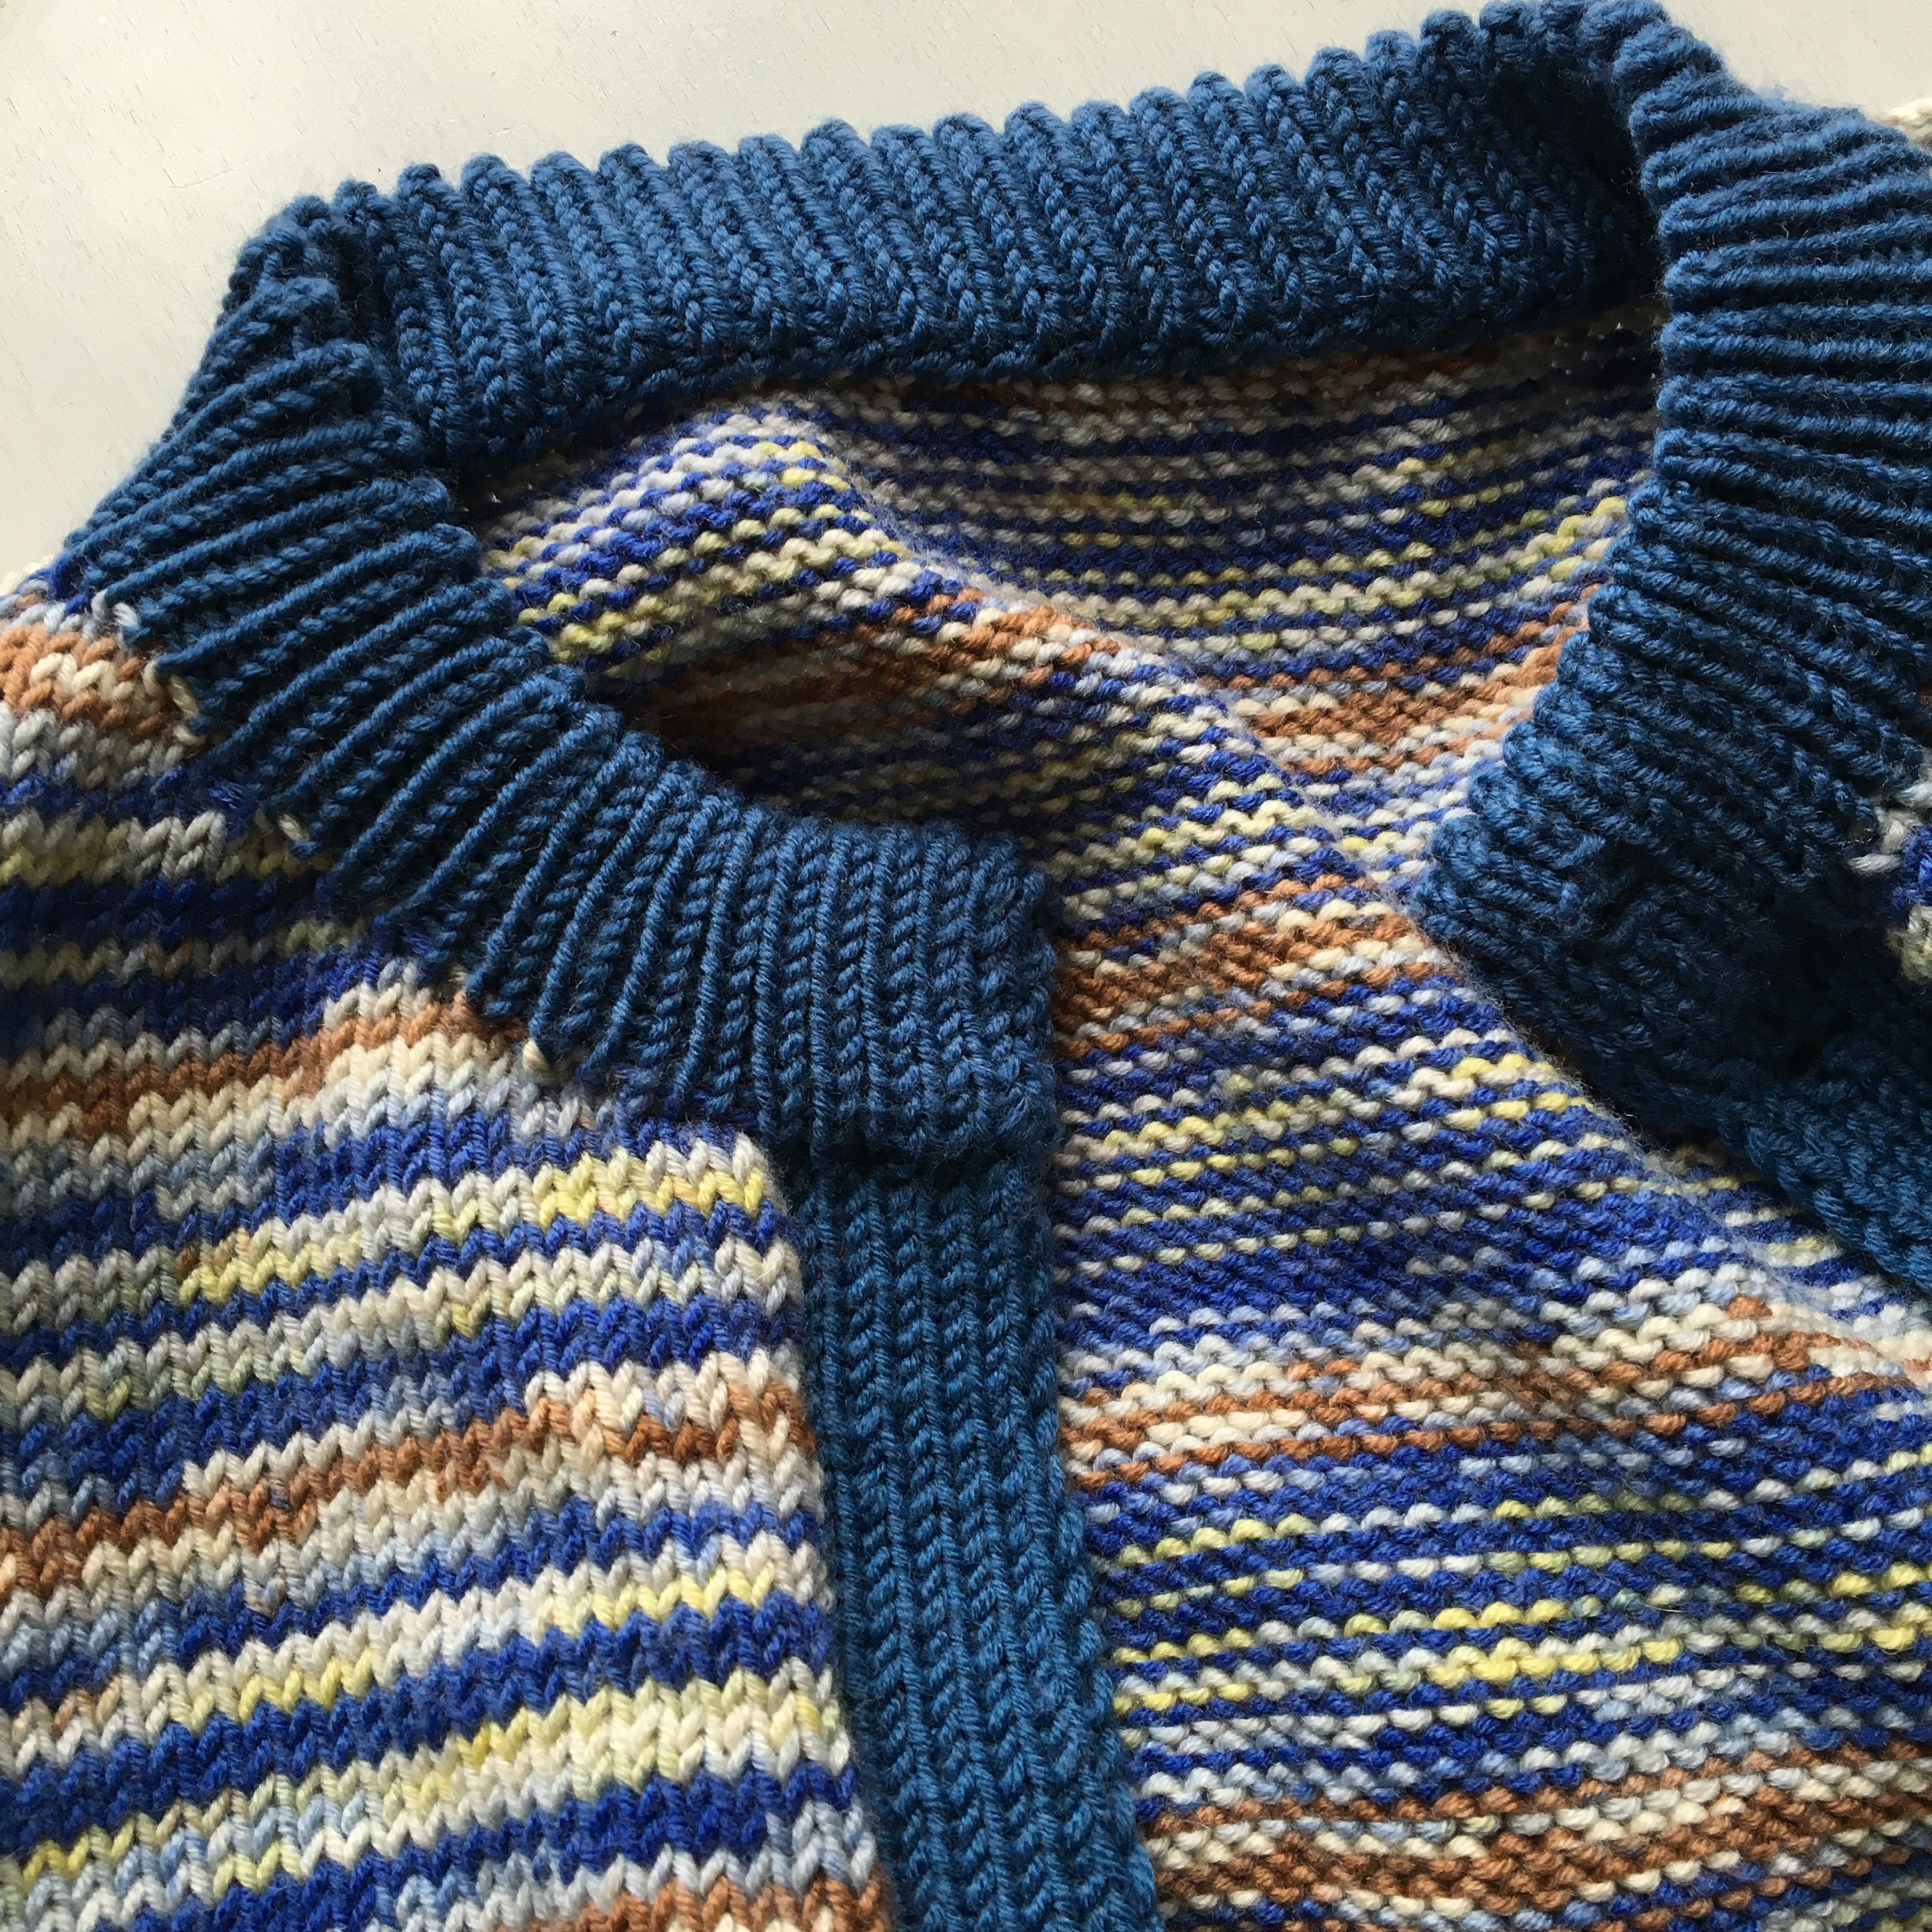
And you got the nicest placket and collar!
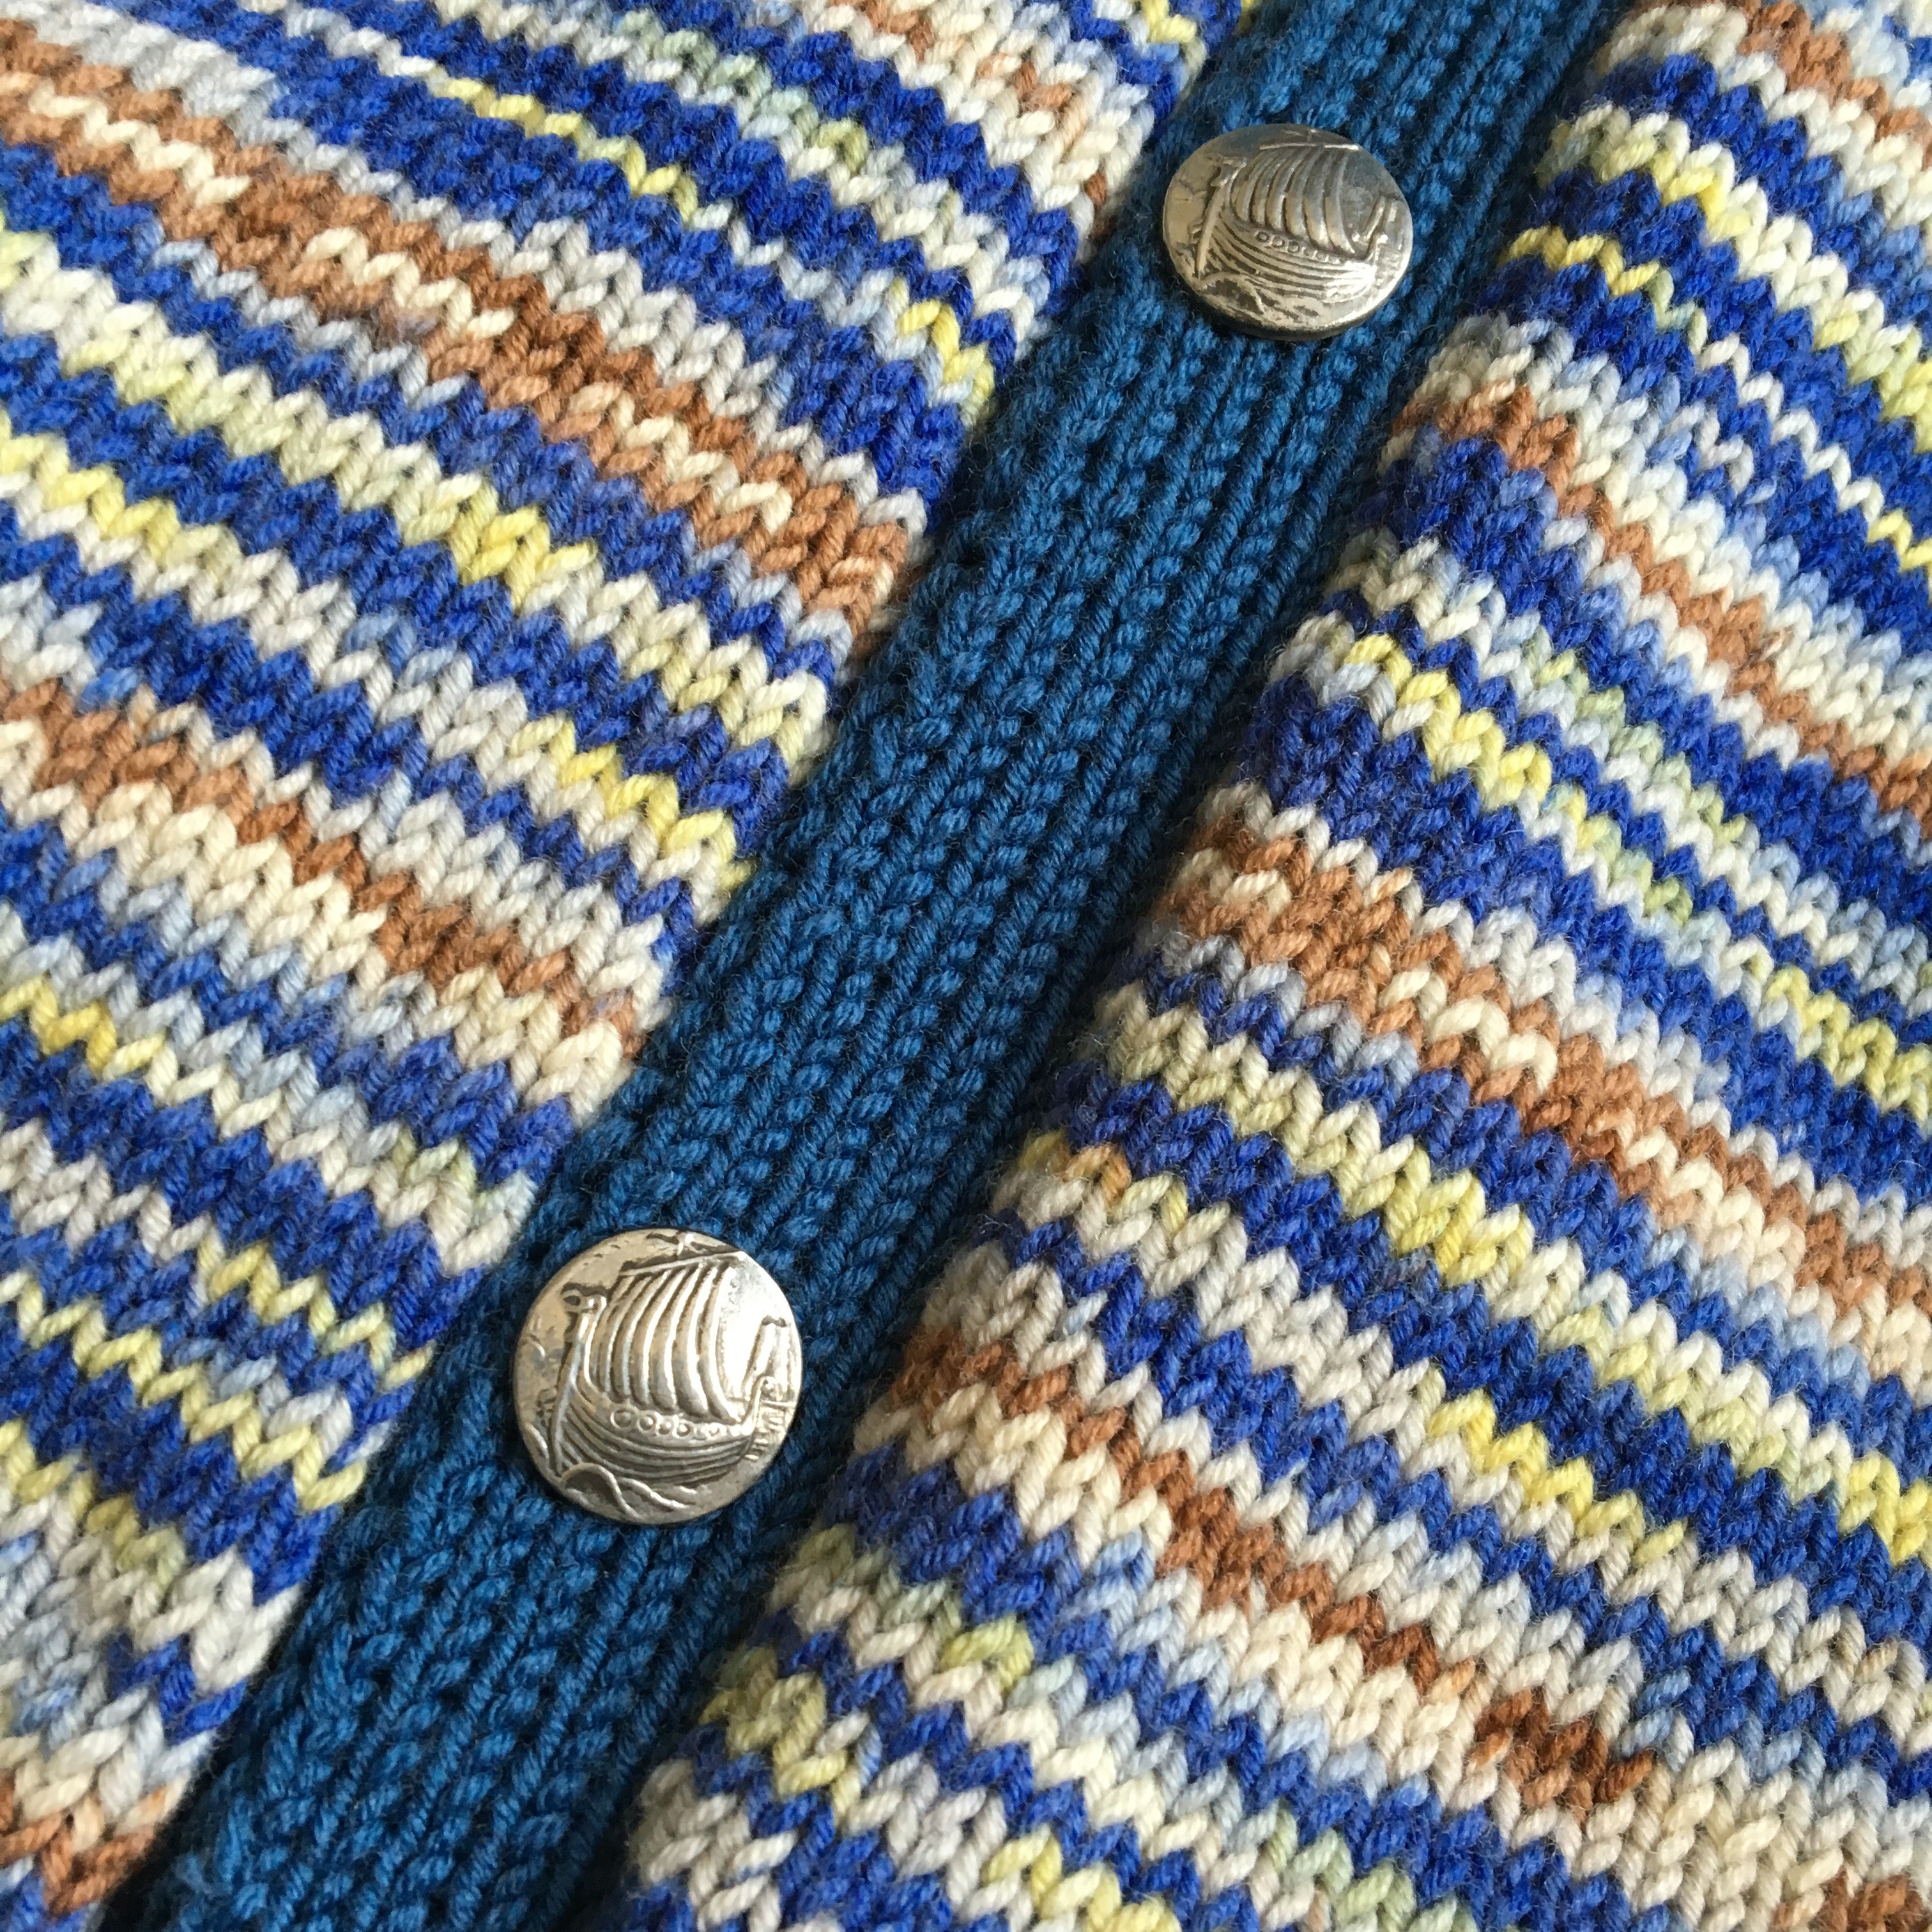
Finally, sew on your buttons. This jacket got some nice old ones with viking ships on them.
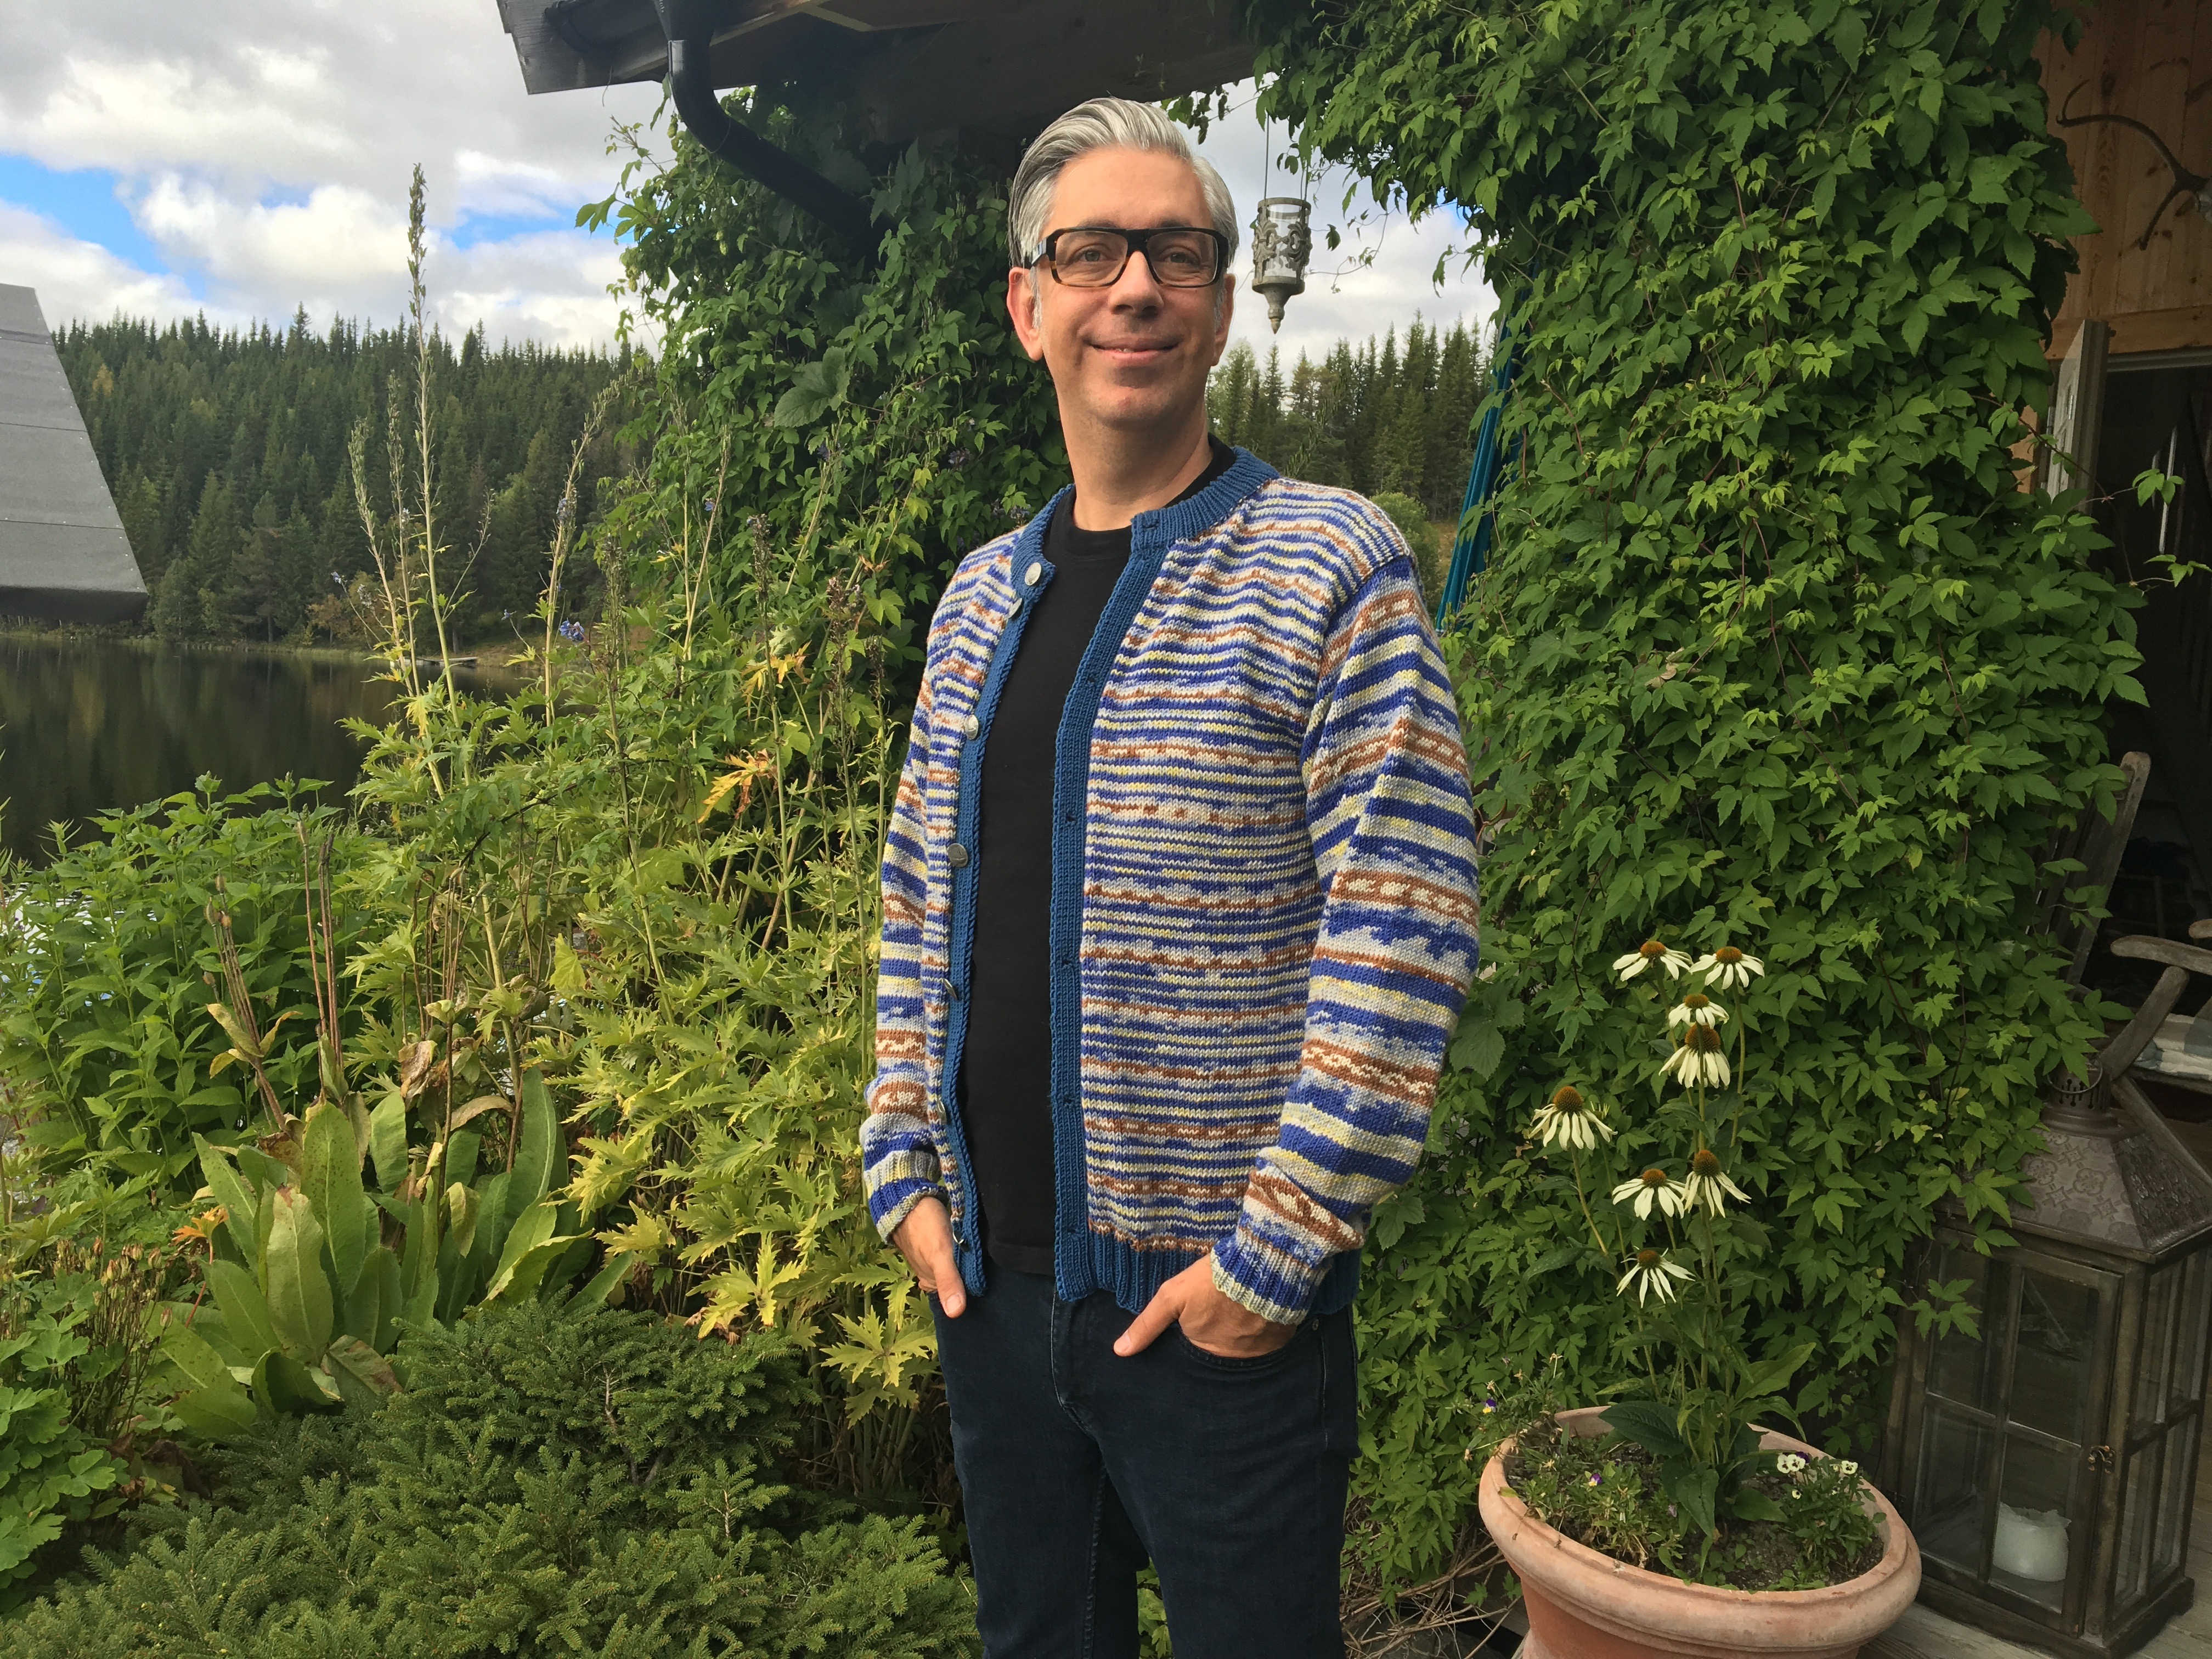
And as promised, a photo of Carlos happily wearing his new cardigan!!
If you’ve missed our other three episodes, you can find them here:
[youtube id=”K8UVwATDASw”] [youtube id=”PtR1bge32DY”]
Please accept YouTube cookies to play videos on arnecarlos.com
By accepting you will be accessing content from YouTube, a service provided by an external third party.
If you accept this notice, your choice will be saved and the page will refresh.
And the patterns as well as many other free patterns are available here.
If you liked these tutorials, please subscribe to our channel here.
Happy Knitting!!
ARNE&CARLOS